Overview
Research-grade images of muscle cross-sections can be very large (often more than 5000 x 5000 pixels). This can lead to problems with running out of computer memory.
Python_MyoVision tries to overcome this problem using block processing - in essence, analyzing bits of the image in sequence when possible.
Instructions
- Open a command prompt
- If you don’t know how
- type cmd in the Search field of your Start Menu
- or Google it to find instructions that work for you
- If you don’t know how
- Change the directory to the Python_code folder of your repository
- If you installed Python_MyoVision in
c:\users\your_username_here\GitHub\Python_Myovision
you can type
cd c:\users\your_username_here\GitHub\Python_Myovision\Python_code
and press enter
- If you installed Python_MyoVision in
-
In the command window, type
python py_vision.py analyze_images “..\demos\example_B\configuration_data\configuration_data.xml”
and press enter -
Within a few seconds, you should see status updates in the command window
- Once the program has finished, look in the results folder specified in the configuration file.
- By default that should be
c:\users\your_username_here\GitHub\Python_Myovision\demos\example_B\results
- By default that should be
- You should see the following files:
- final_results.xlsx
- clean_overlay.png
- annotated_overlay.png
- processing.zip
-
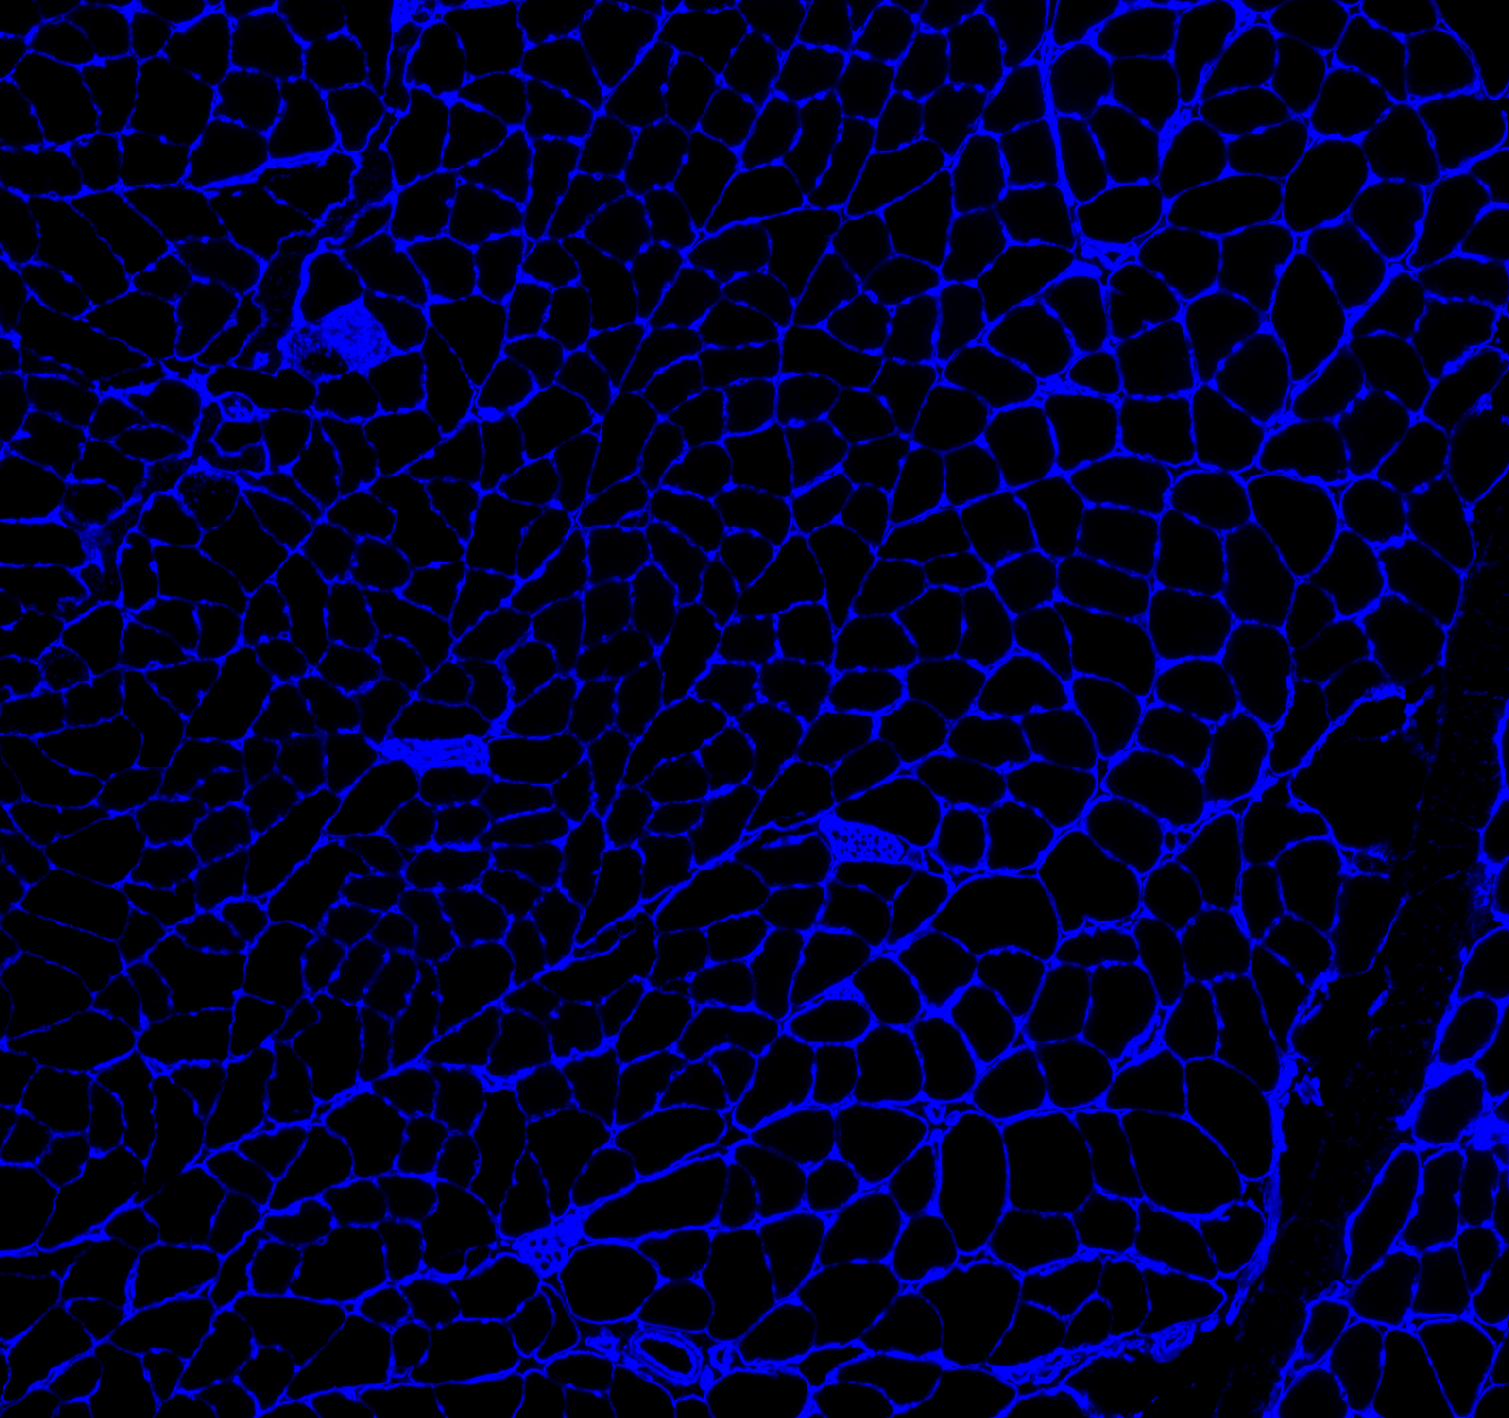
Here is the original image

-
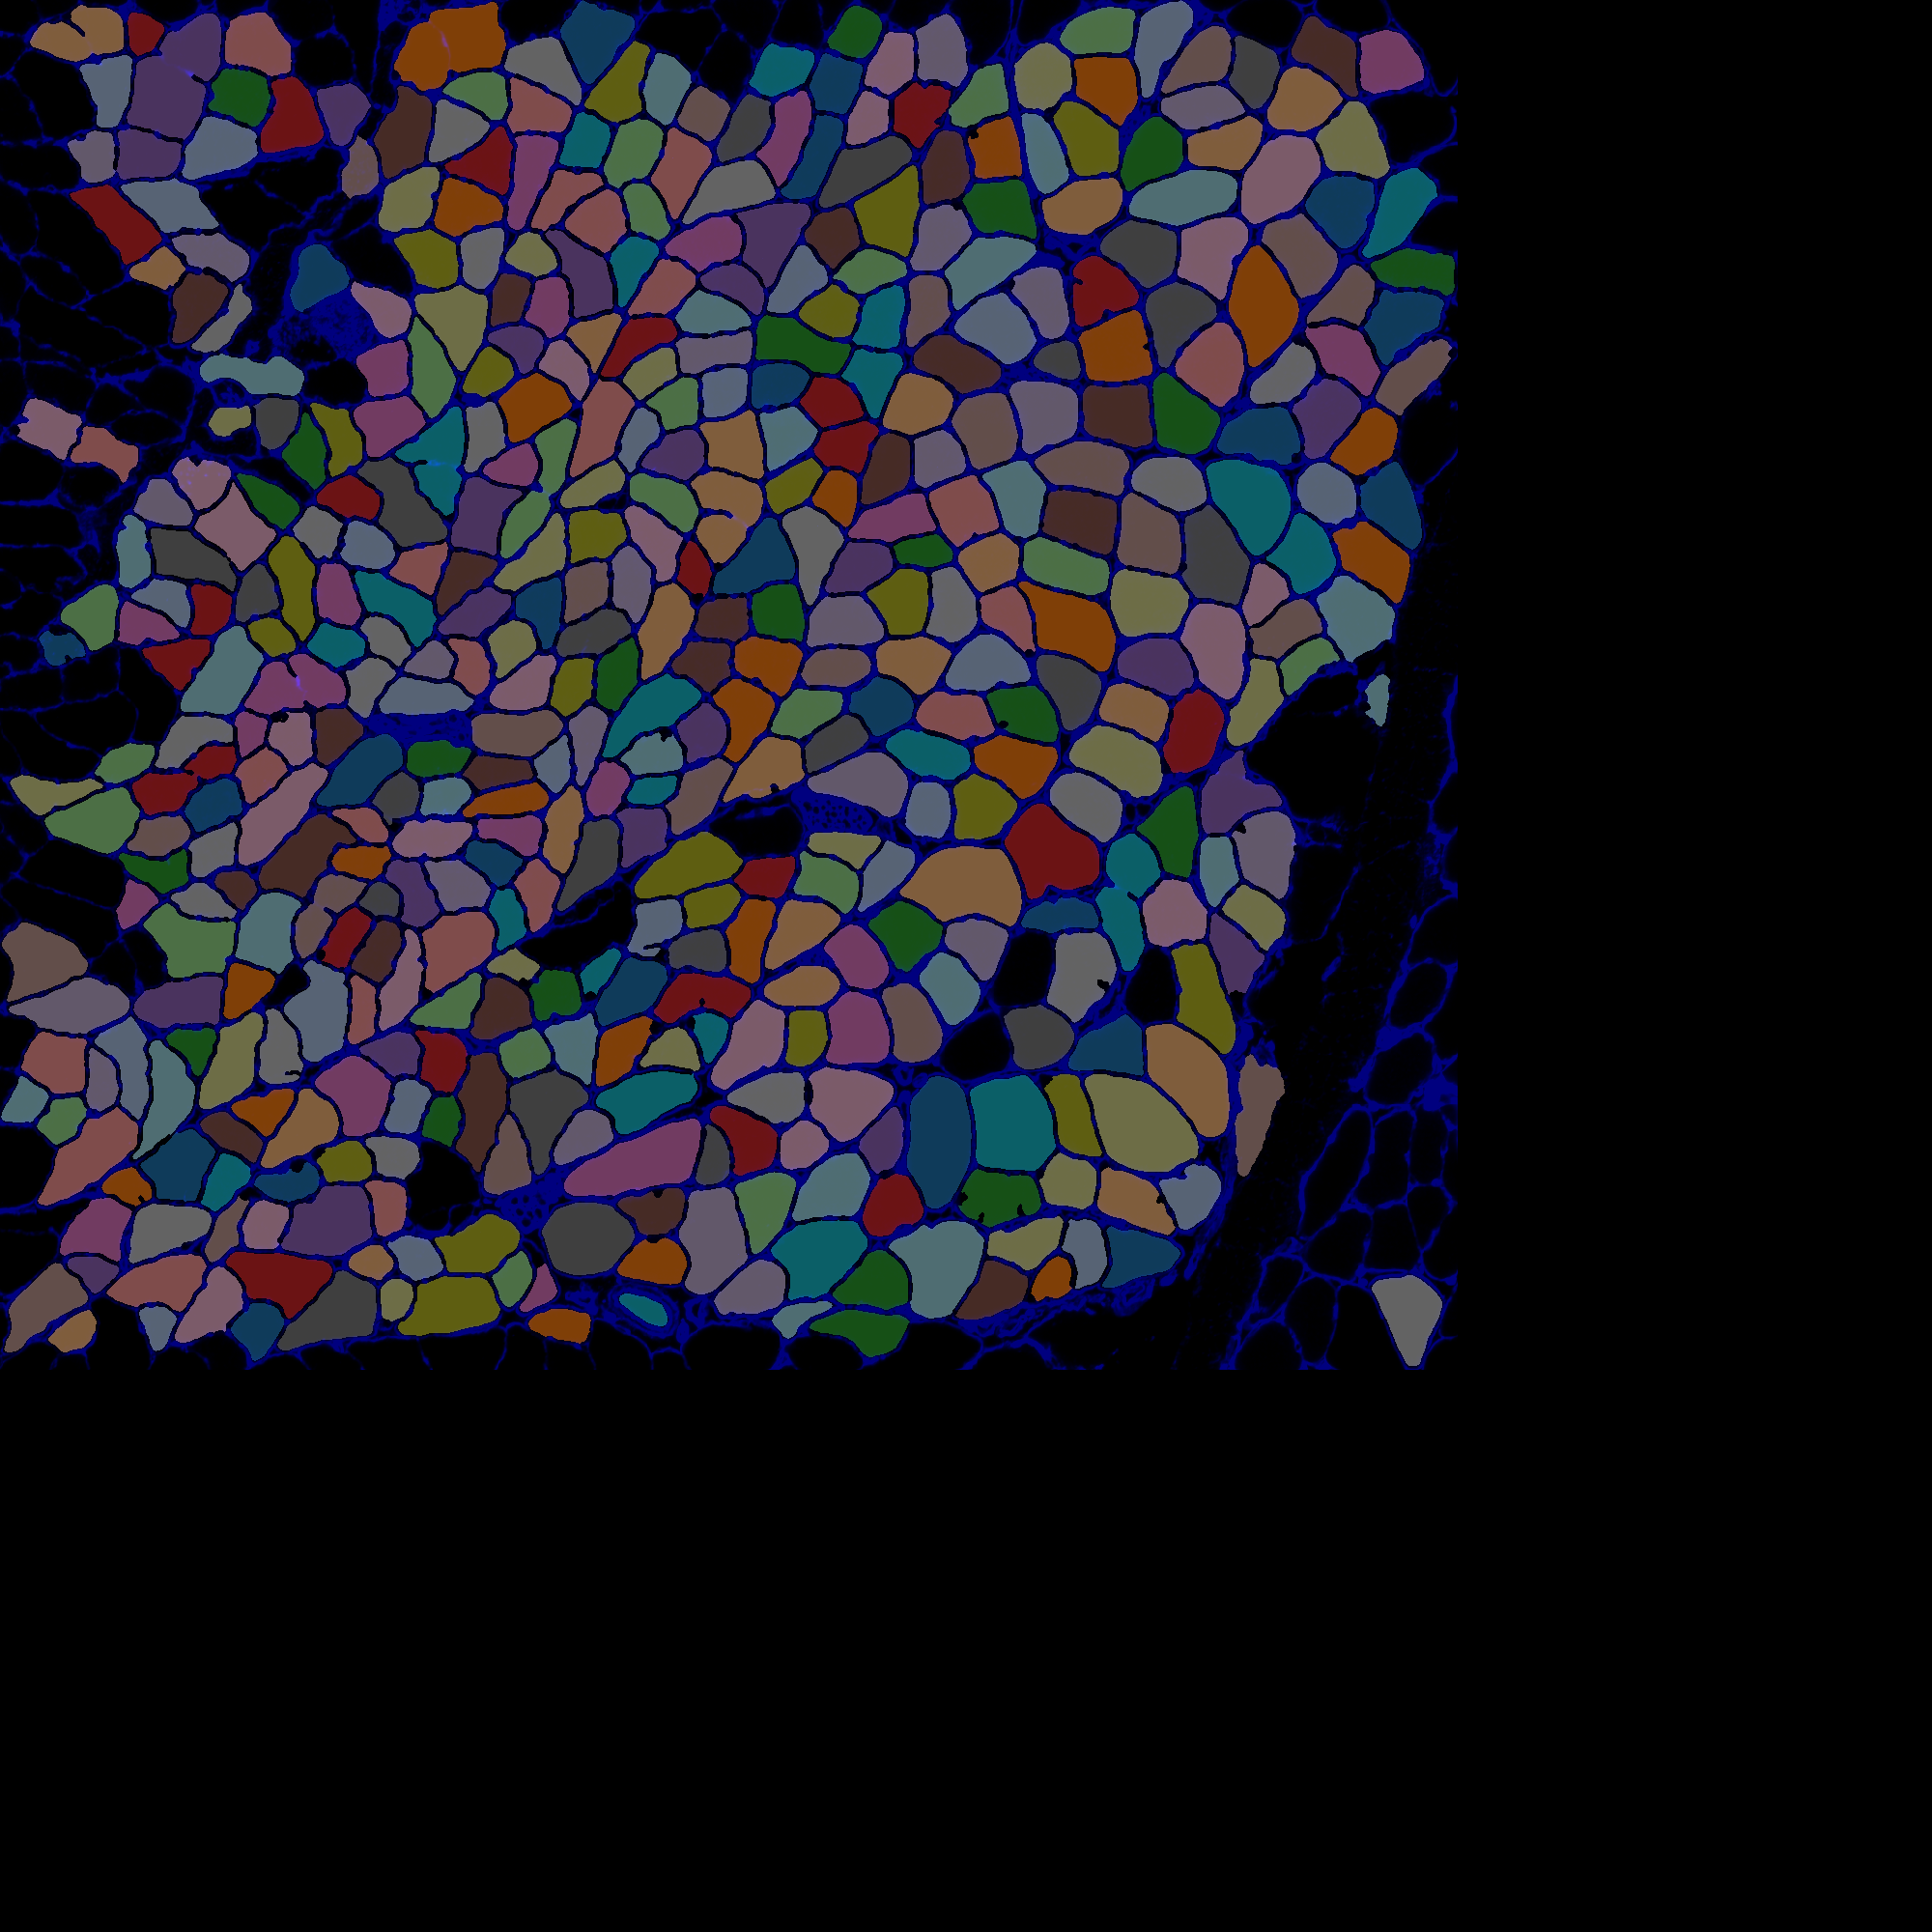
Here is the clean_overlay.png file

-
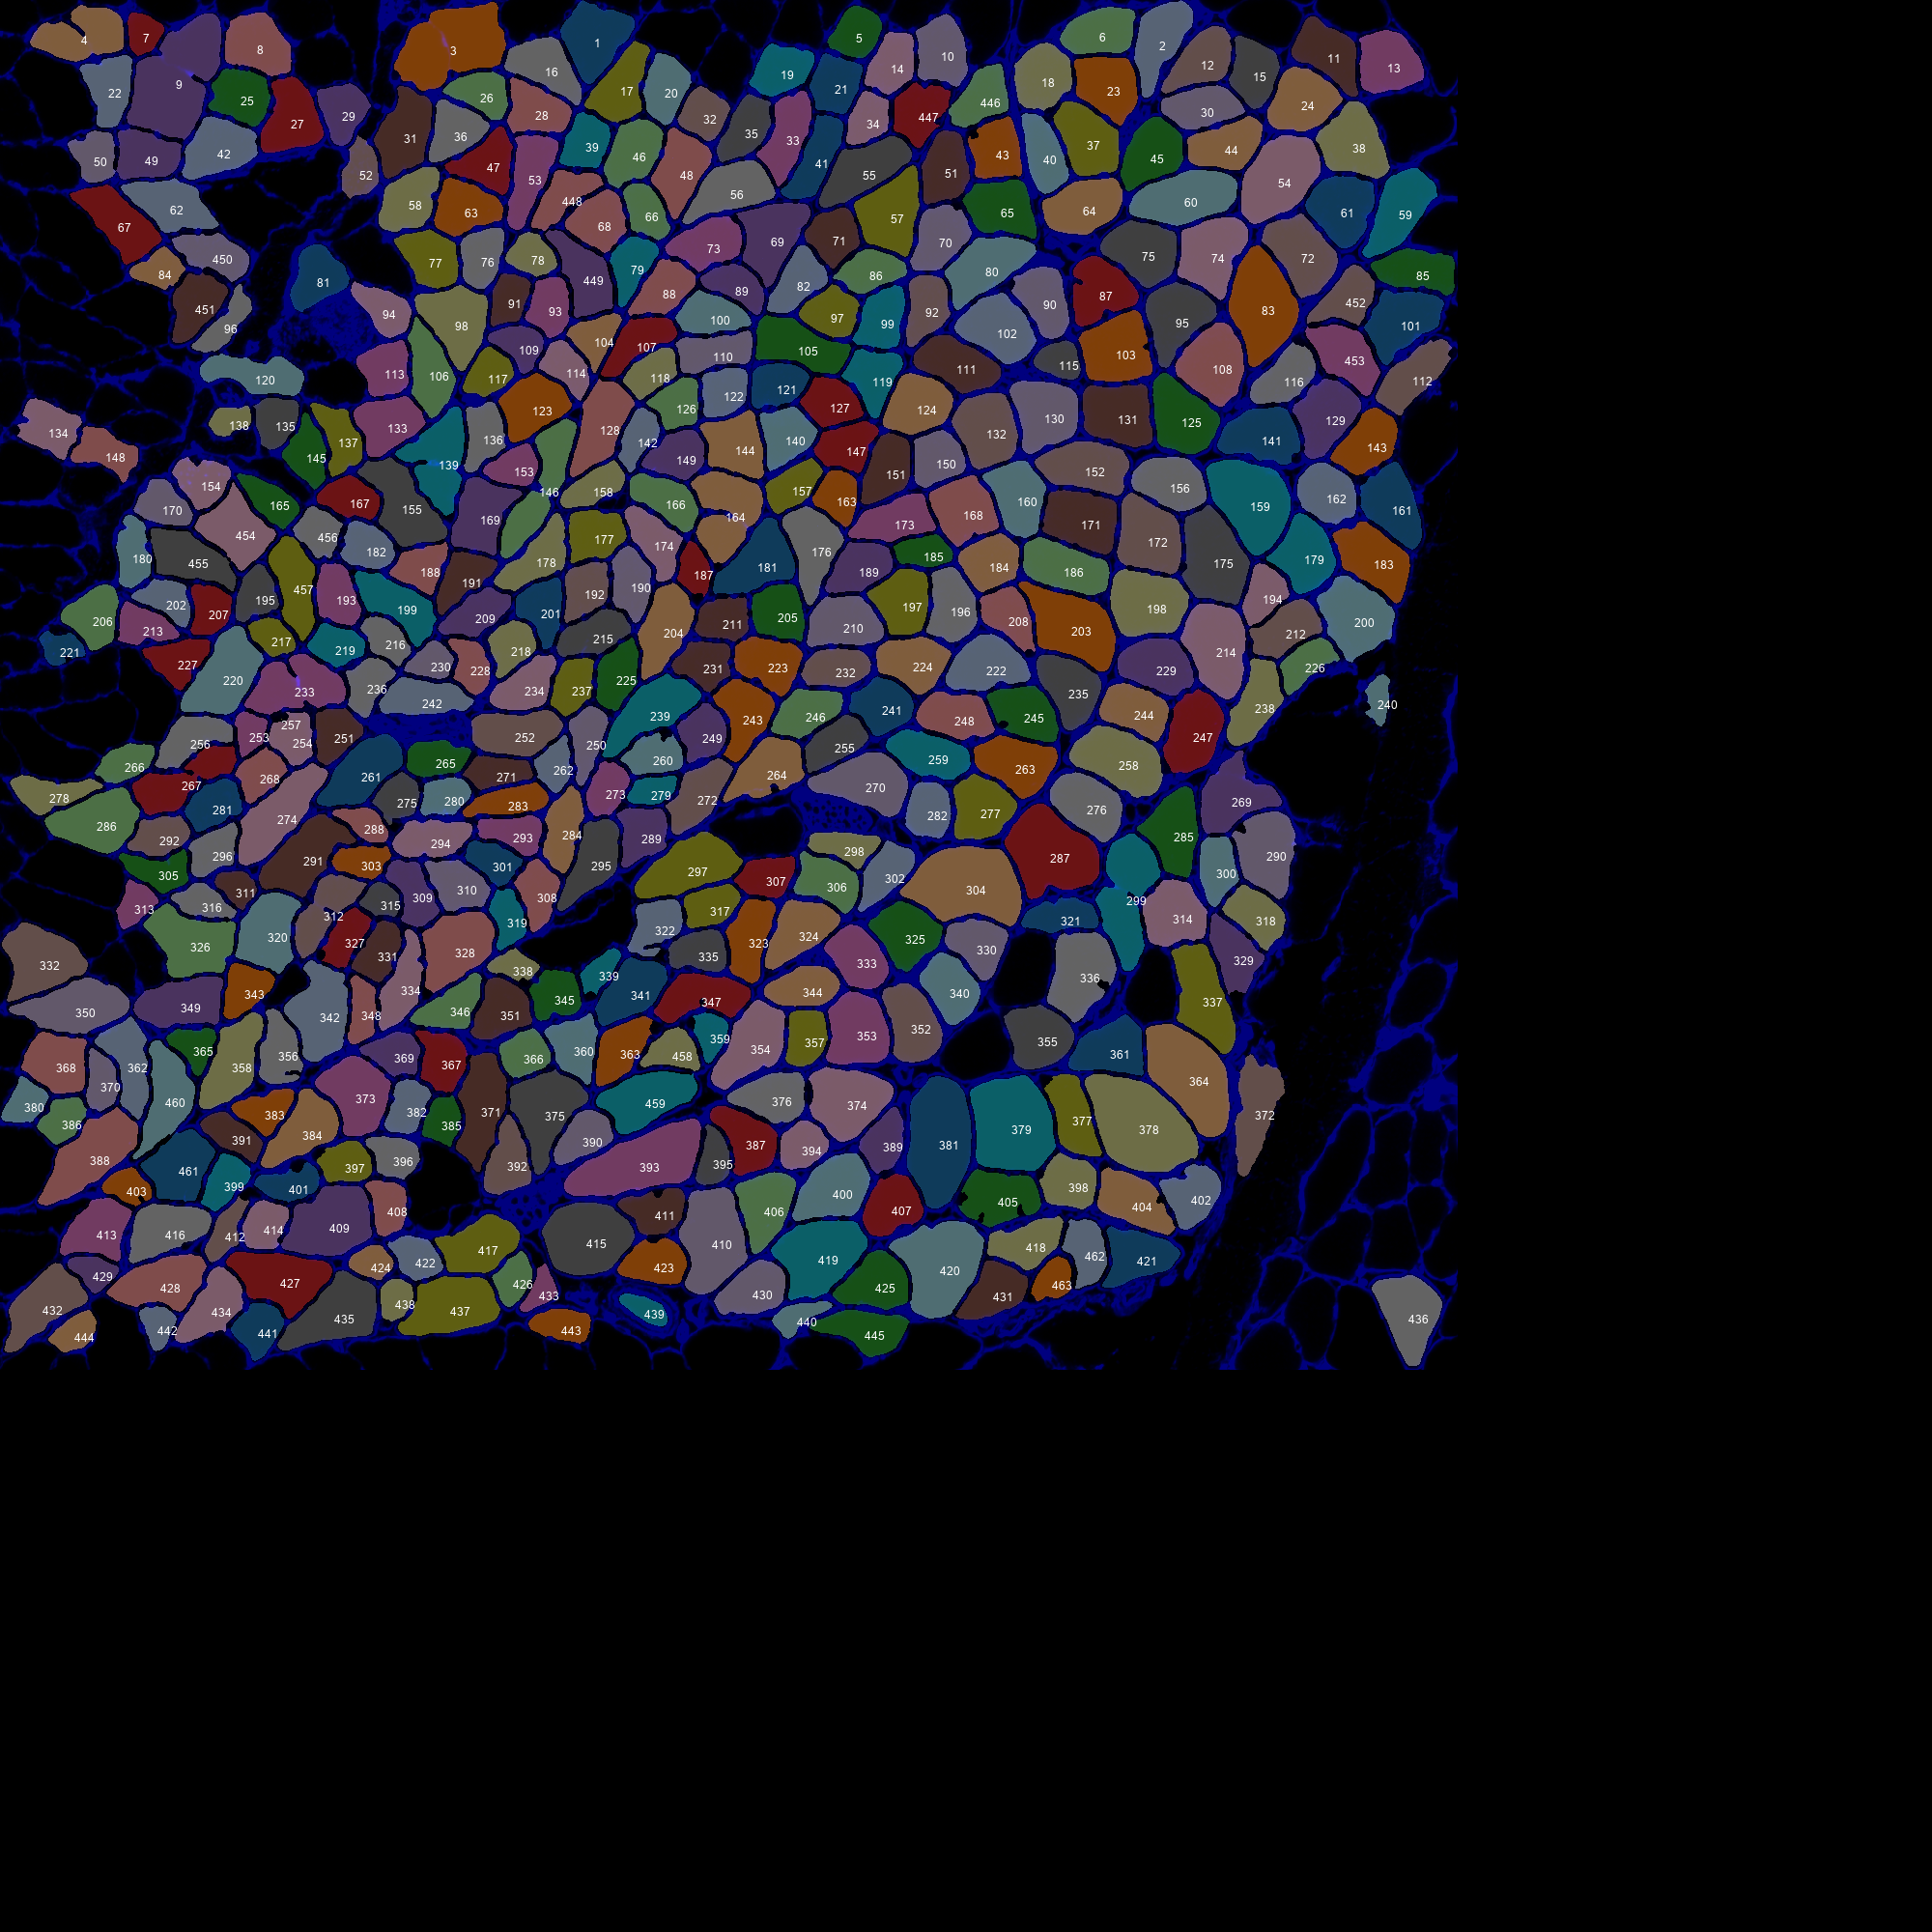
Here is the annotated_overlay.png file

-
You can see that the overlays are larger than the original - in other words, they were padded.
- What happened, was that MyoVision detected that the original image (1509 x 1408 pixels) was larger than 1000 x 1000 pixels (the threshold value is defined by the
block_sizein<image_to_label_parameters>in the configuration file). It therefore split the original image into blocks of 1000 x 1000, padding the right-hand side and the bottom-edge with black areas as necessary during the image processing.- You can see the individual blocks by opening up
processing.zipin the results folder and looking inside theblockssub-folder -
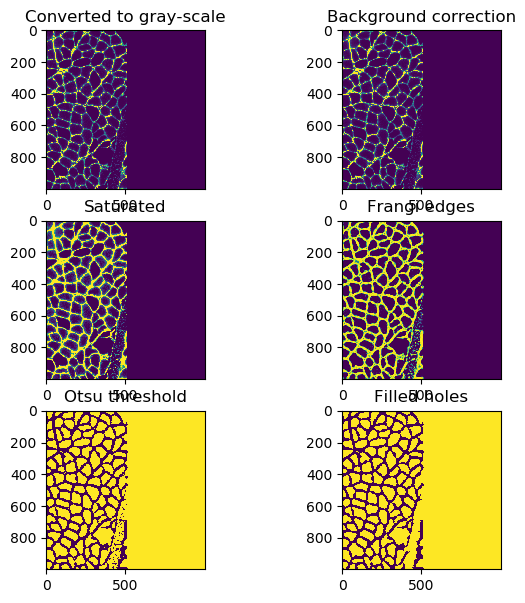
Here’s how the top-right block was processed

- You can see the individual blocks by opening up