Overview
The prior steps in this tutorial showed you how to:
- identify blobs in a gray-scale image
- segregate the blobs into different categories
- create a classifier system that allocates new blobs to different categories
Once you have created a new classifier, it’s a good idea to test it on a new image. If it works, you can be more confident that the classifier is doing what you want it to.
Instructions
- A simple approach is to test the classifier on a flipped version of the original image file.
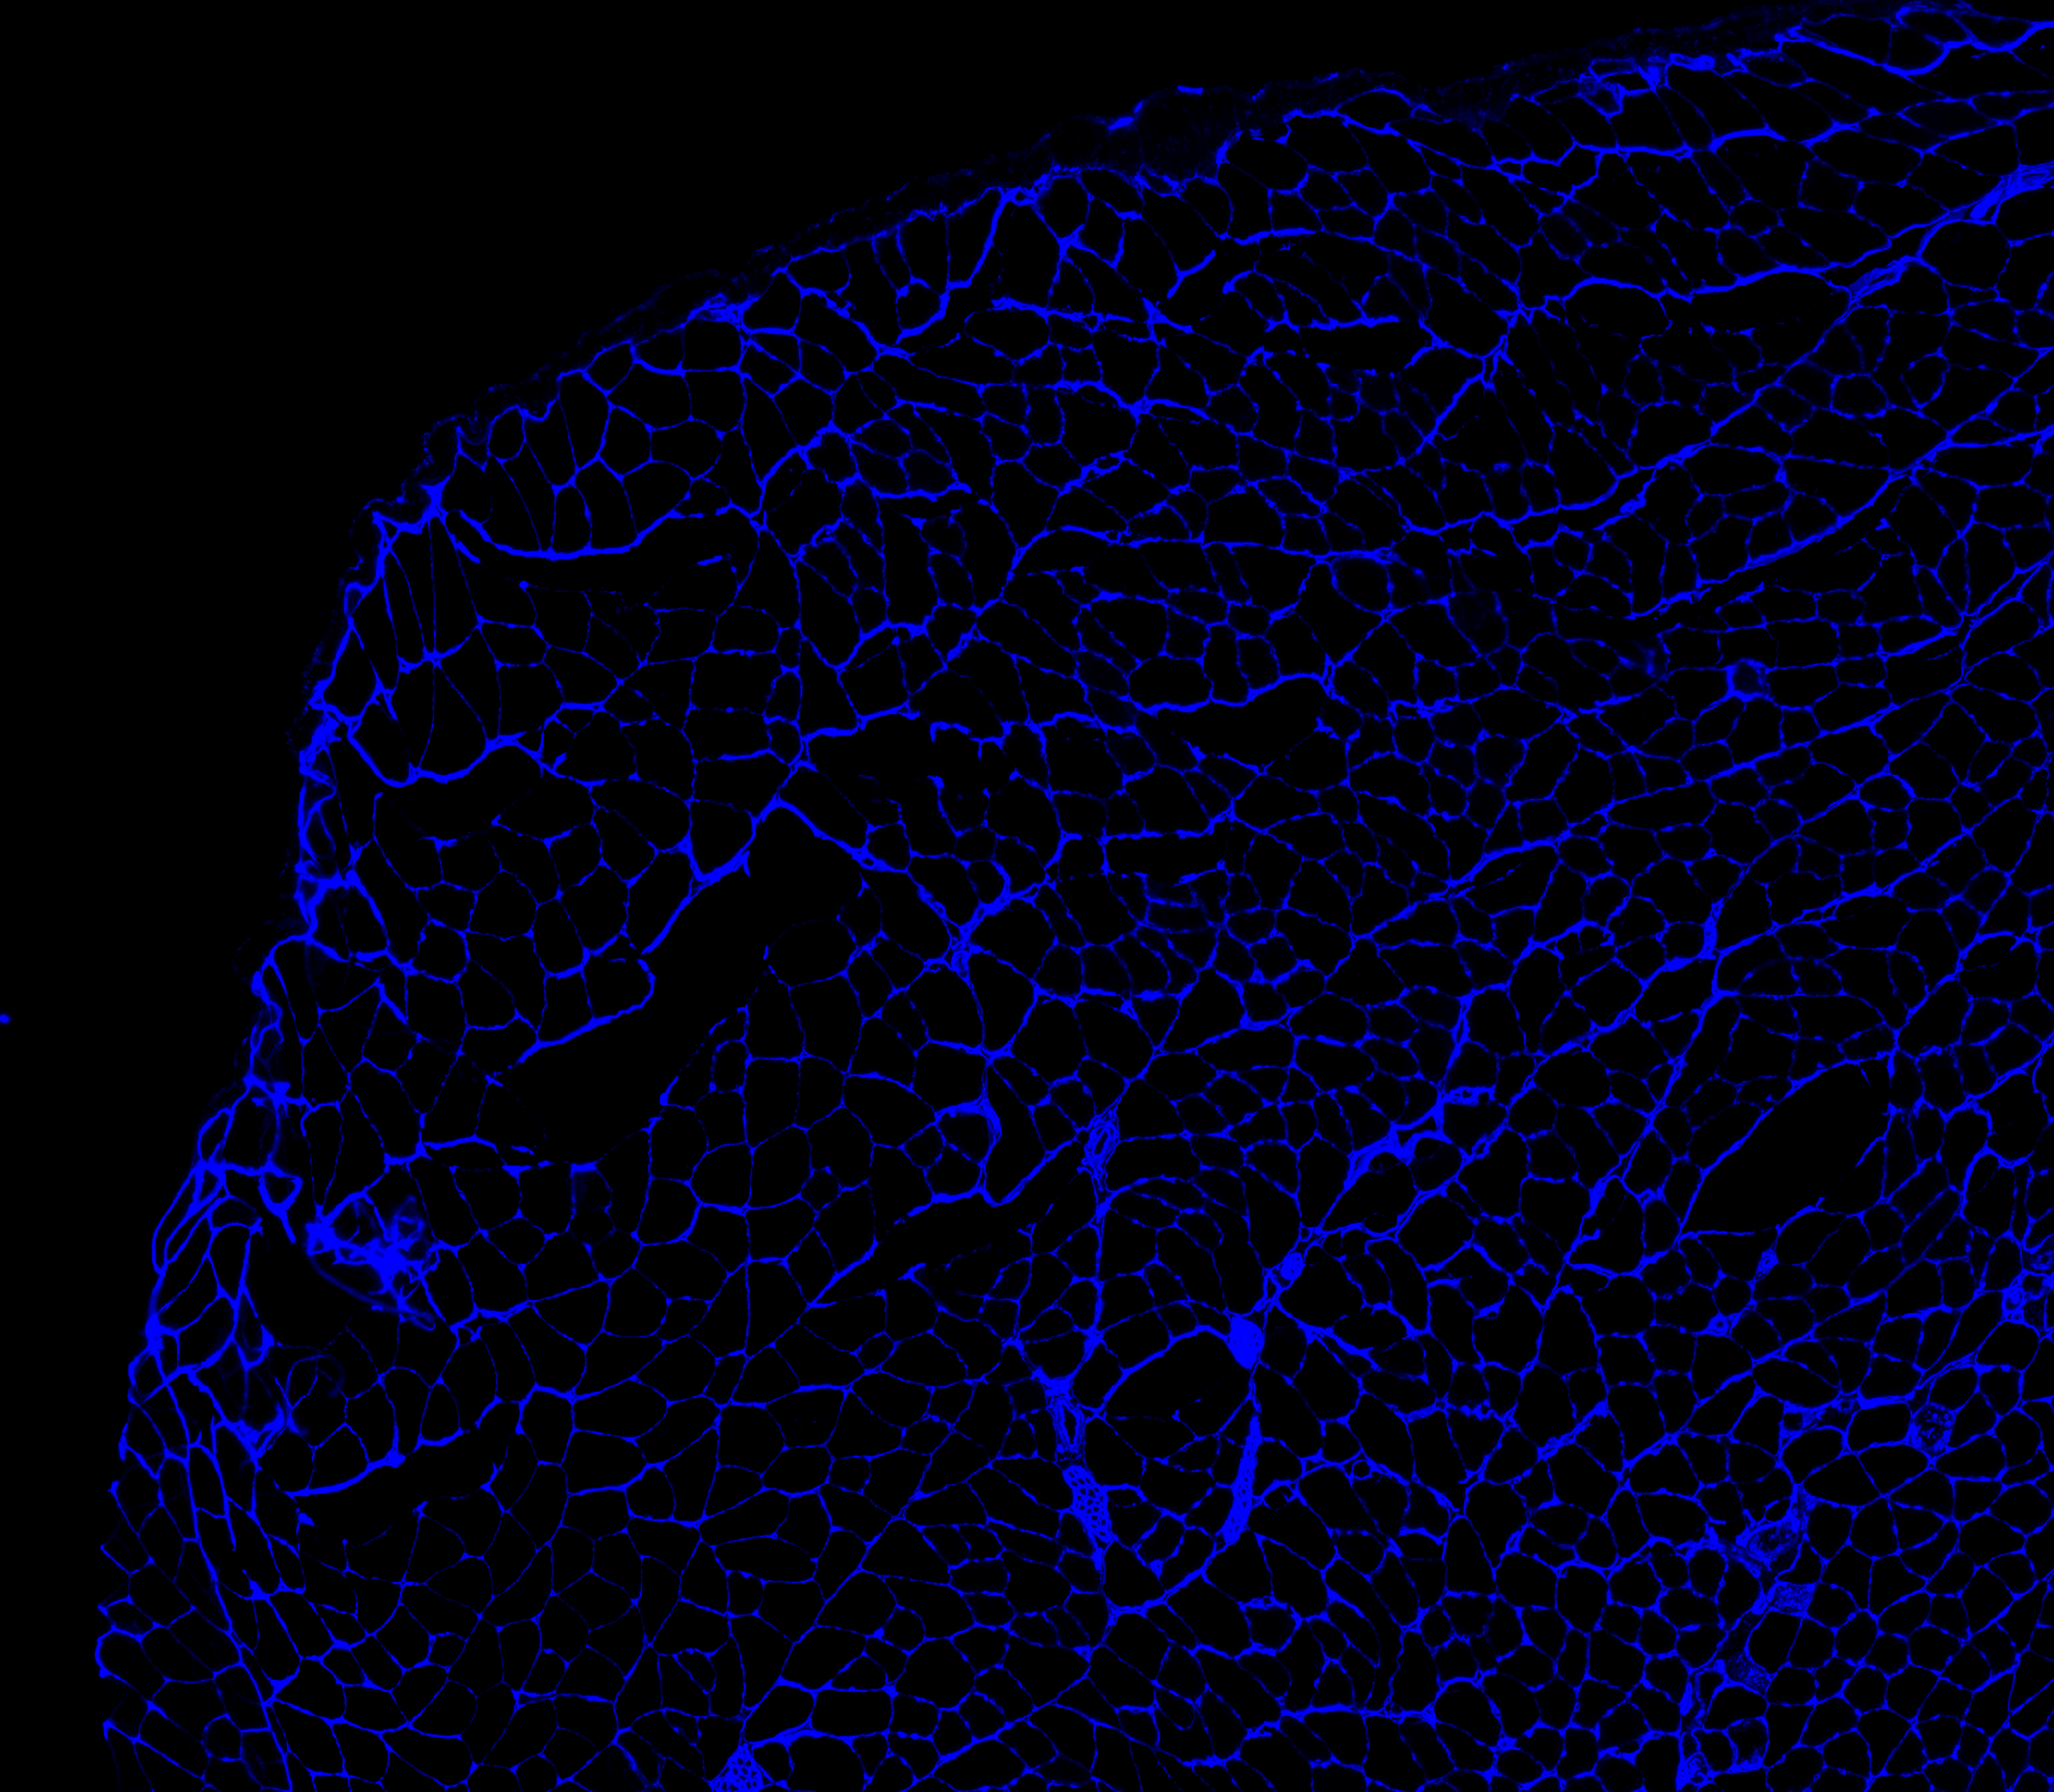
Here’s the original image we used to train the classifer.

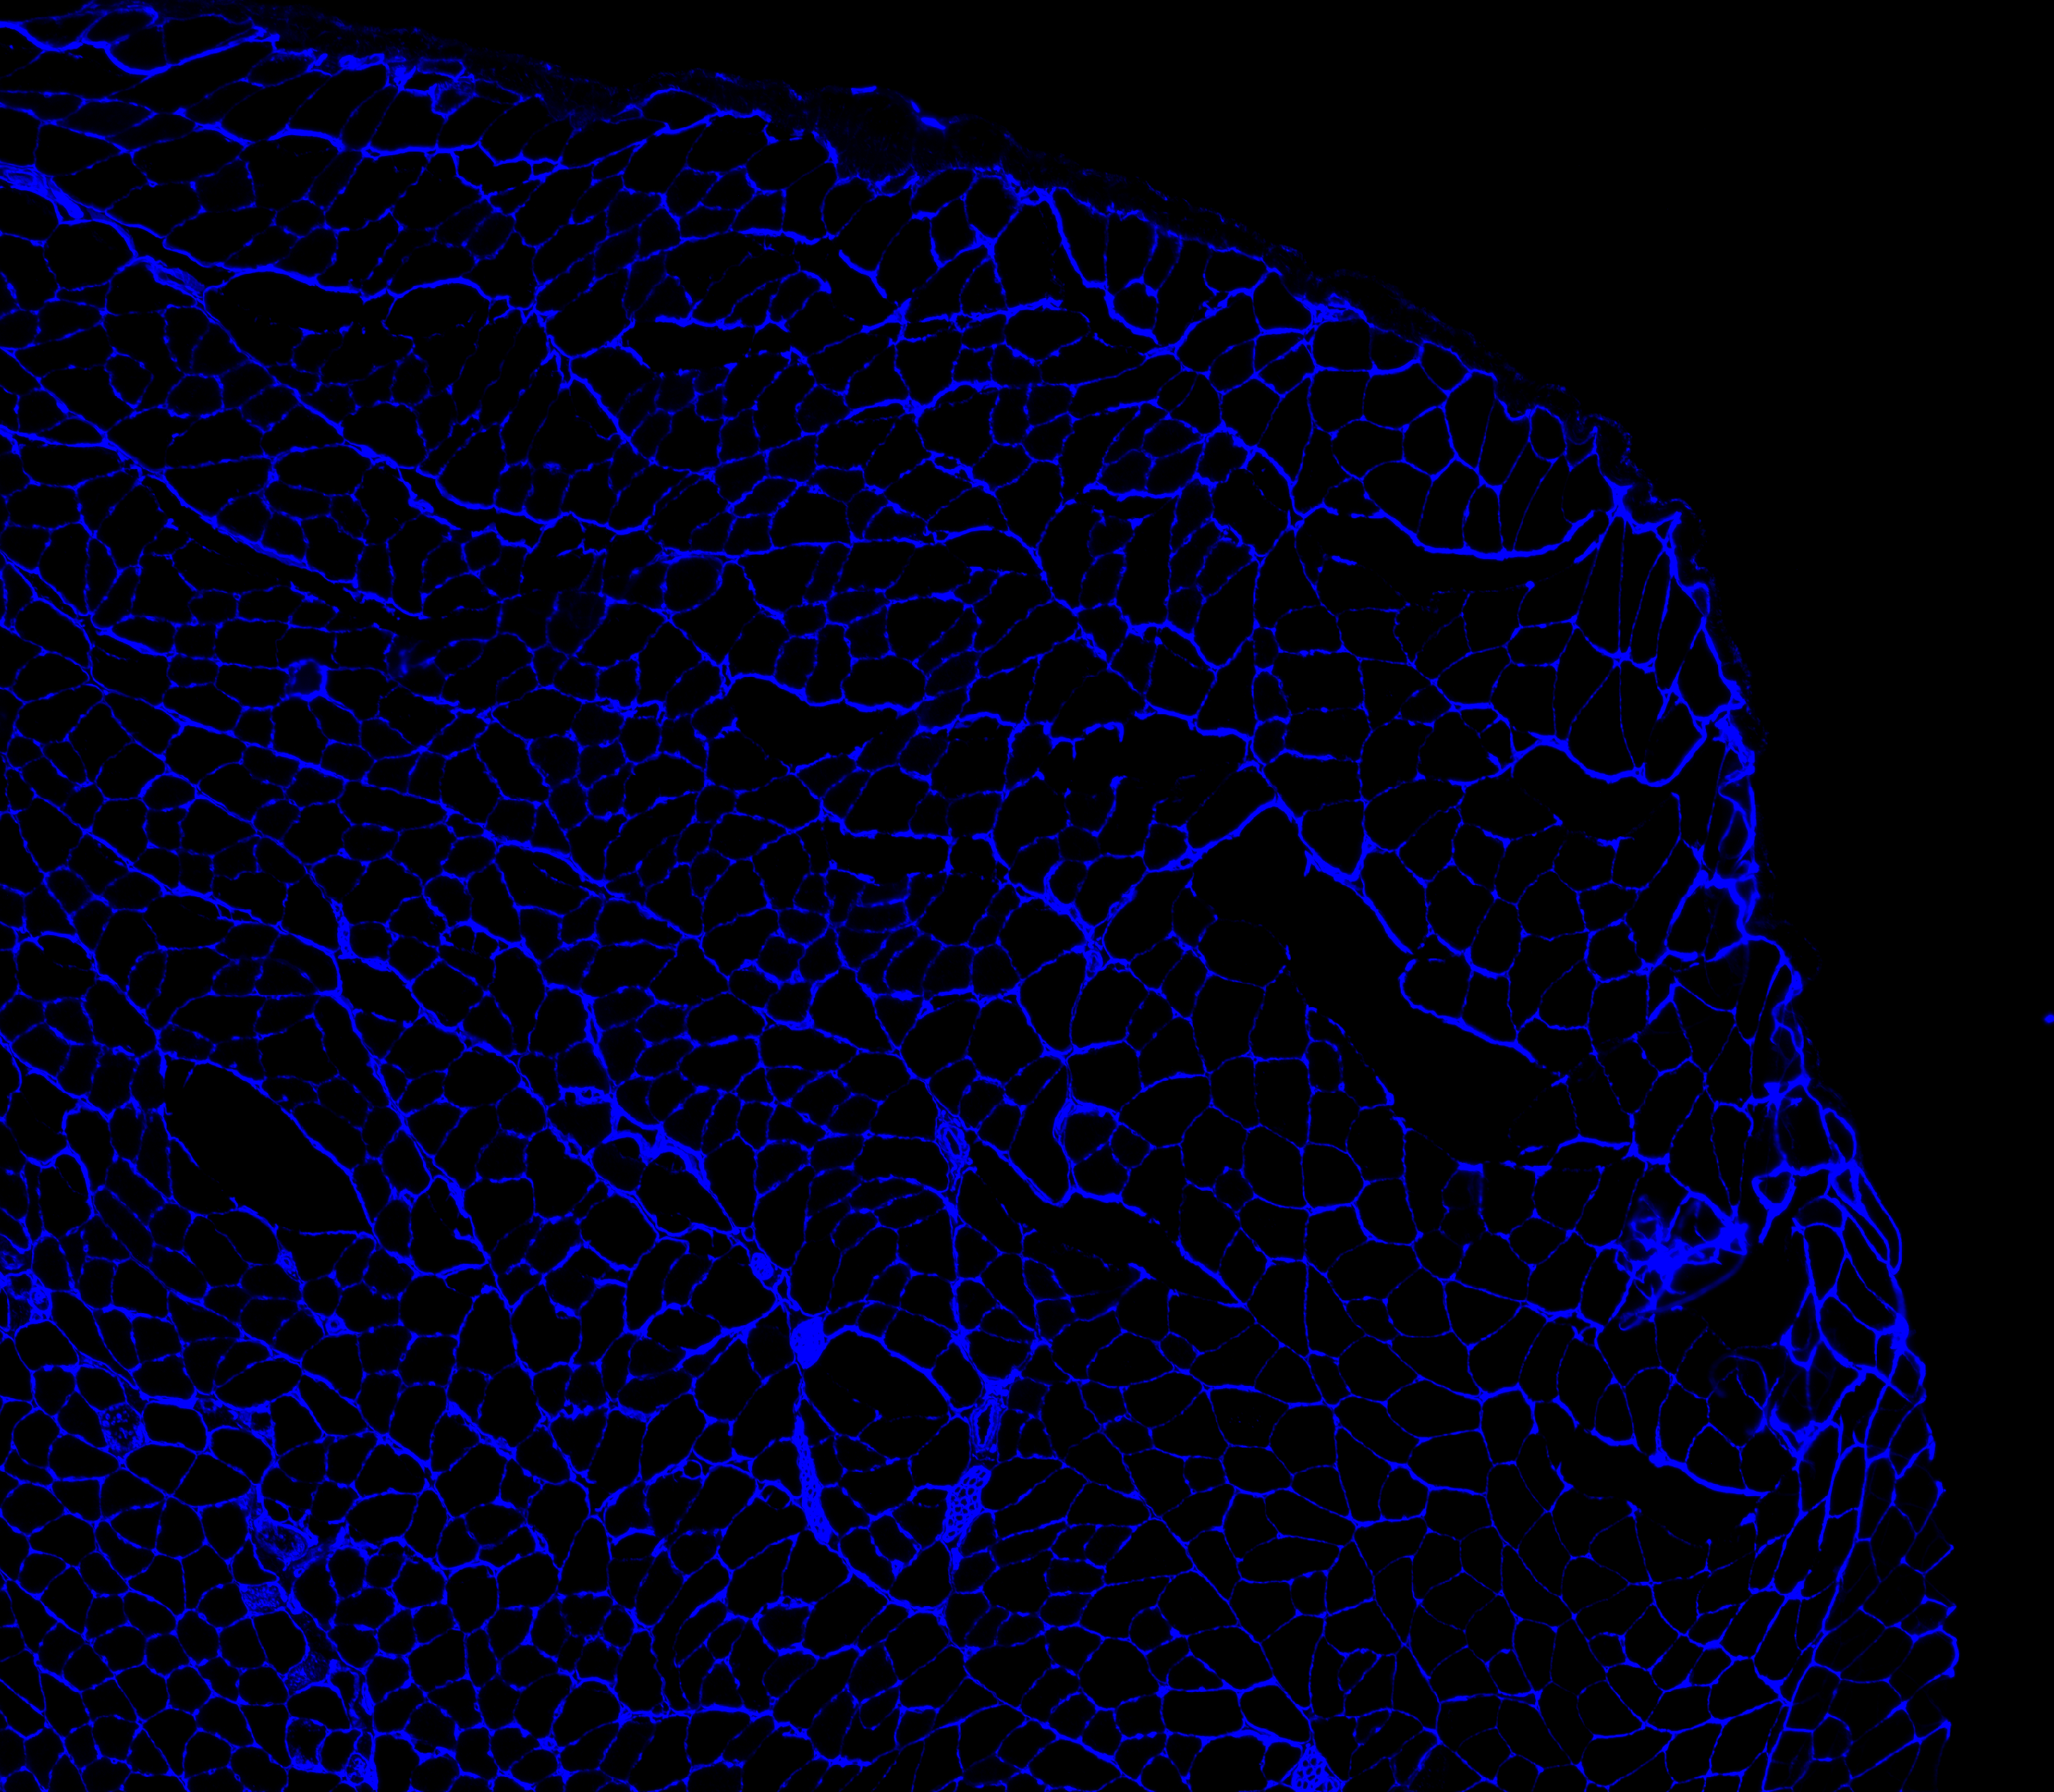
Here’s a flipped version that we will use to to test our system.

-
Now have a look at
flipped_image.xmlin..\demos\example_C\configuration_data\flipped_configuration_data.xml -
By now, you can probably see that it is going to run a standard analysis, just like Analyze a larger image on the flipped image.
-
Open a command window and change to the directory containing your Python code - see Analyzing a small image if you need help.
-
Now type
python py_vision.py analyze_images "..\demos\example_C\configuration_data\flipped_configuration_data.xml"
and press enter -
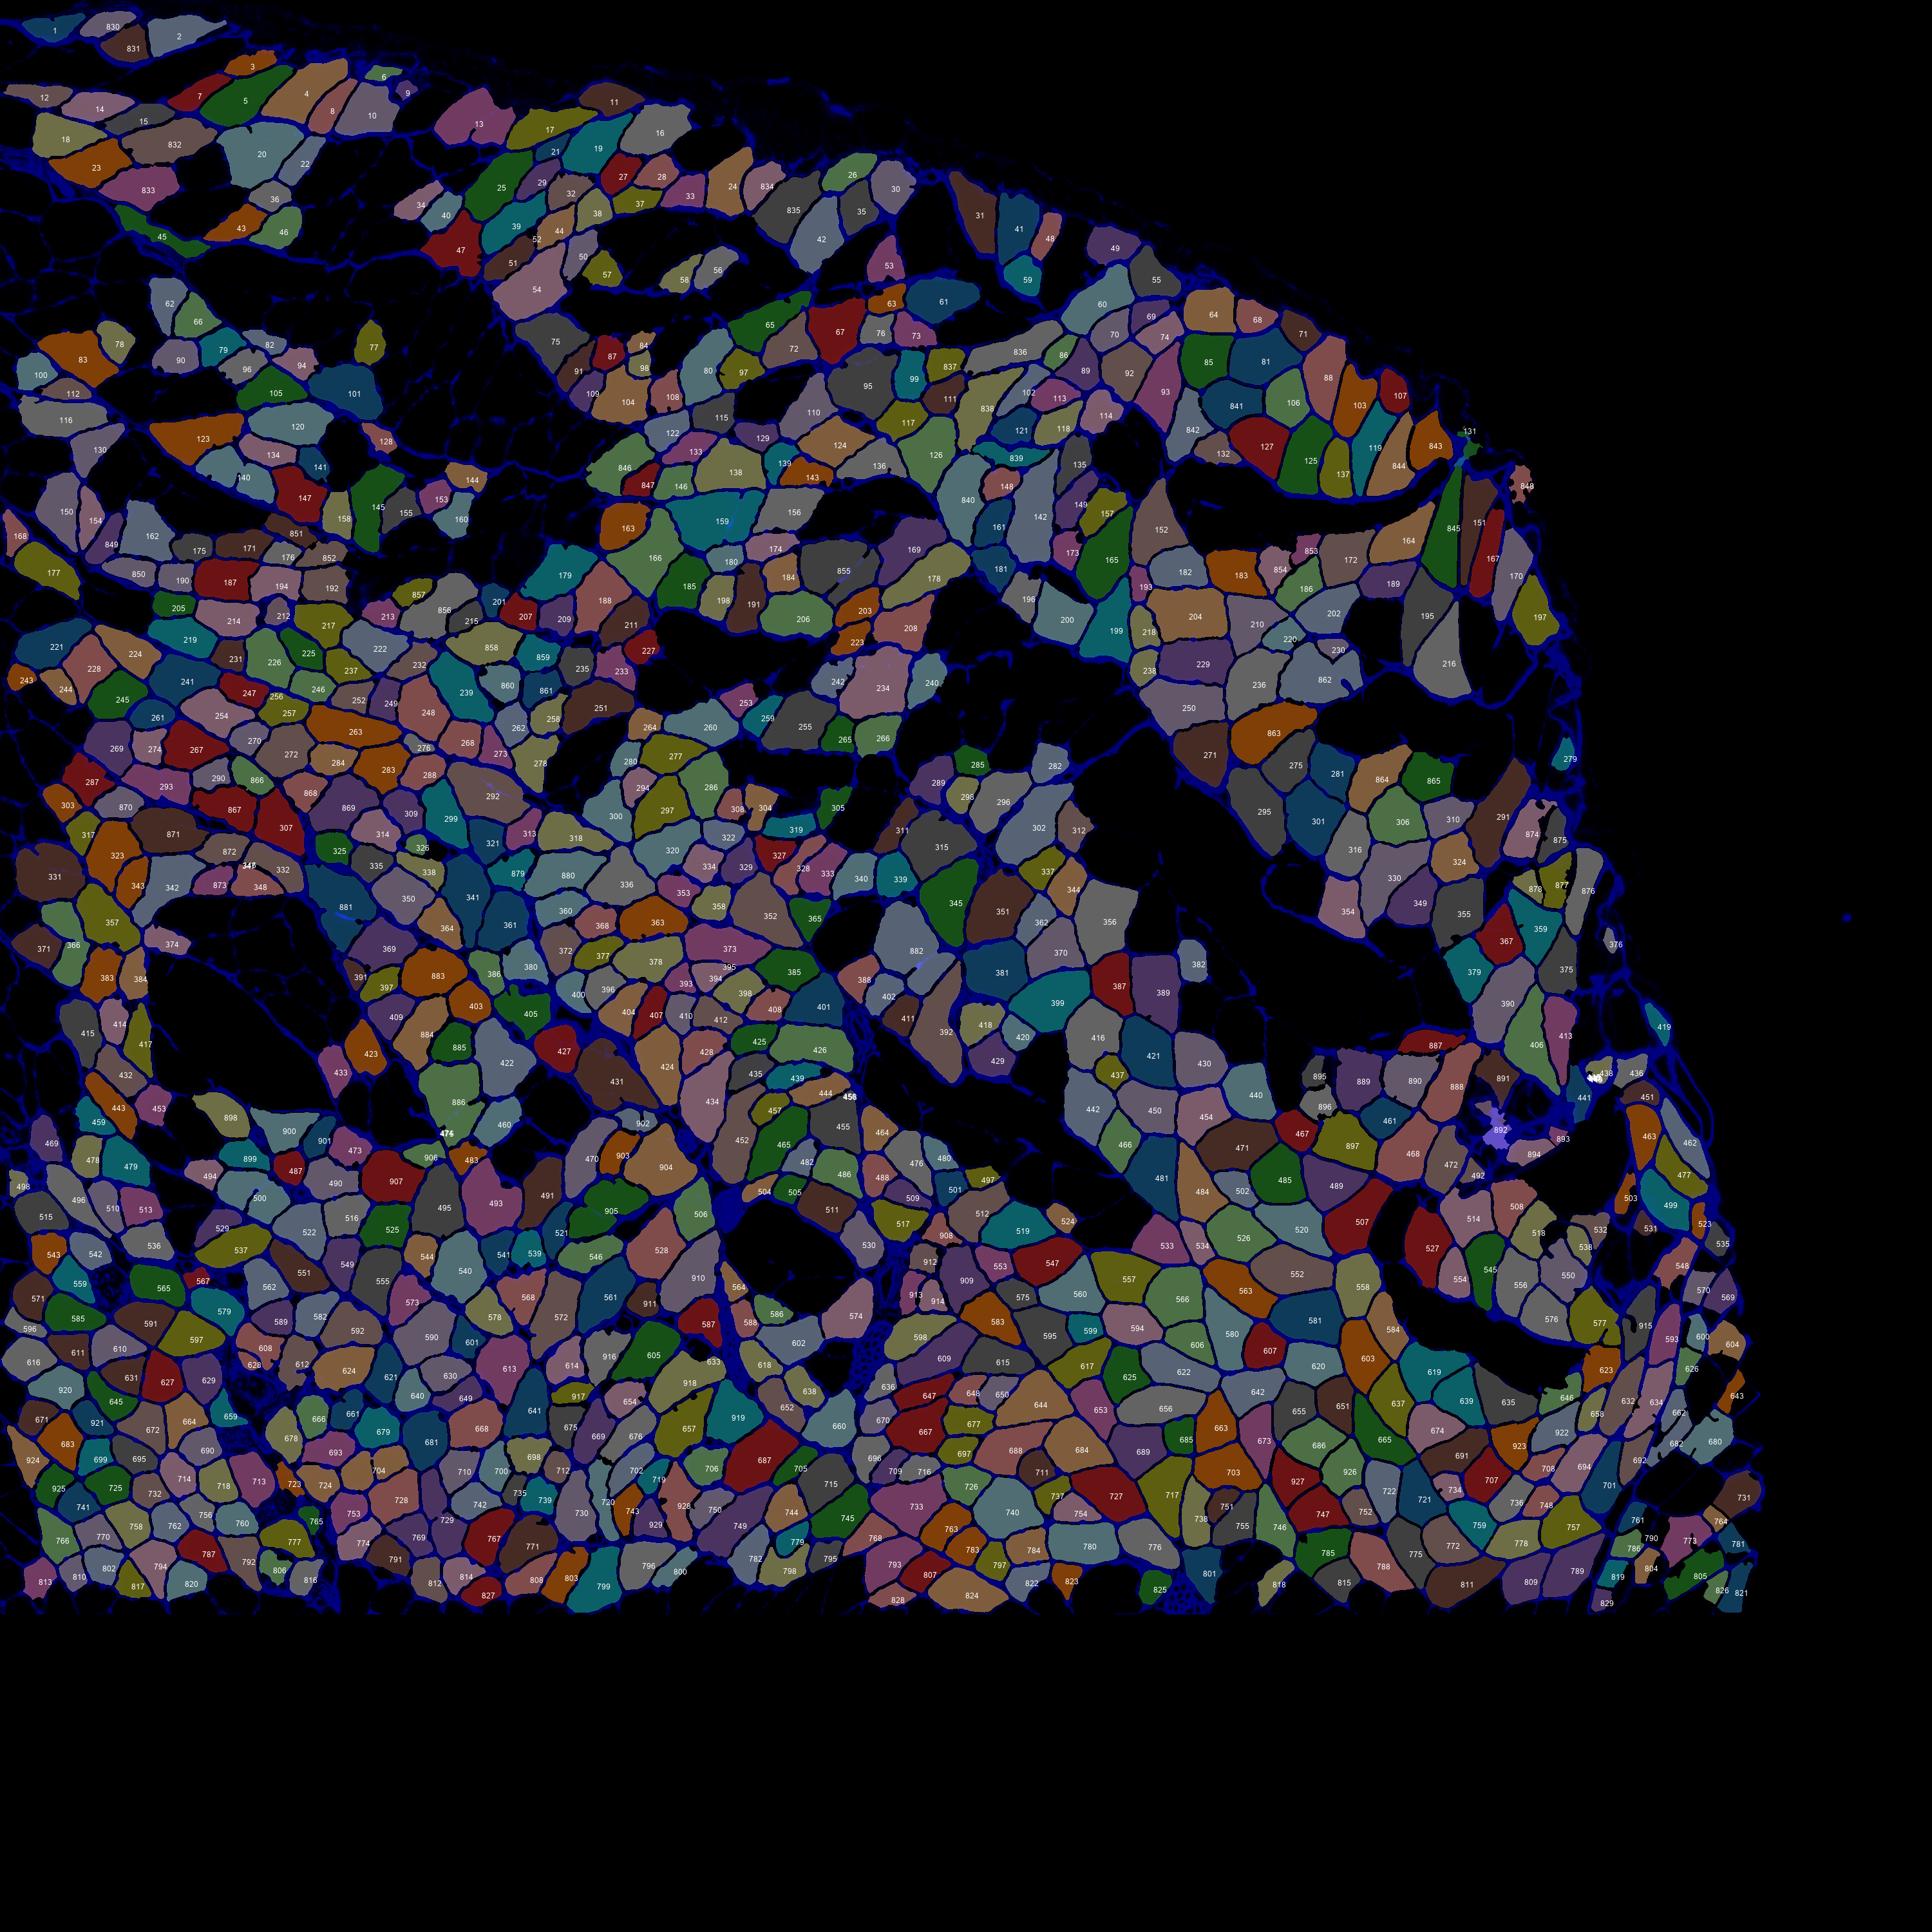
The code should run, and in the results folder, you should find the following annotated image.
