Step-by-Step Example
This section shows a step-by-step example of how to download Anaconda, set up an environment, begin working with the environment, and run MyoSim.
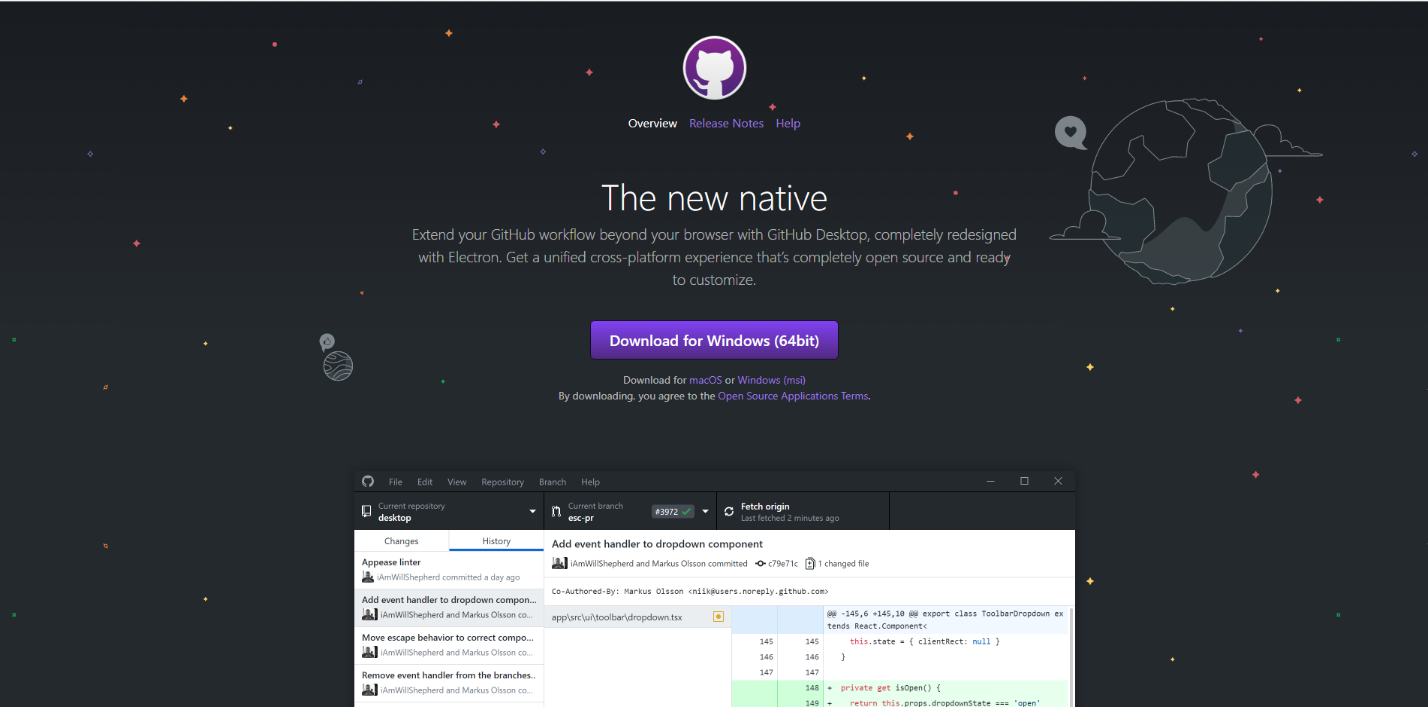
- Download GitHub Desktop and follow installation instructions by visiting https://desktop.github.com/ and clicking the “Download for Windows” button.
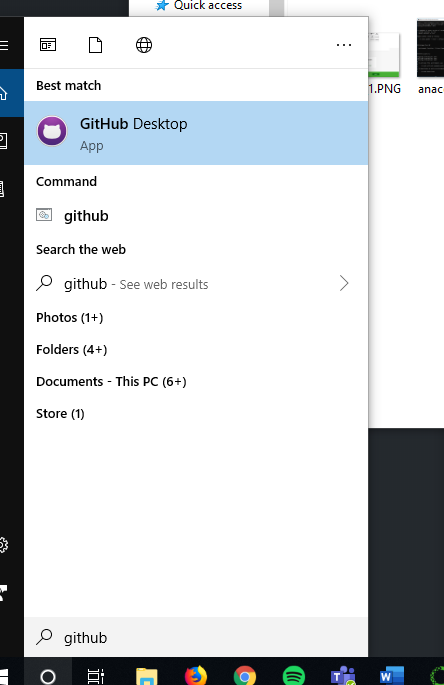
- Launch GitHub Desktop through the Start Menu.
- Sign into your GitHub account when prompted.
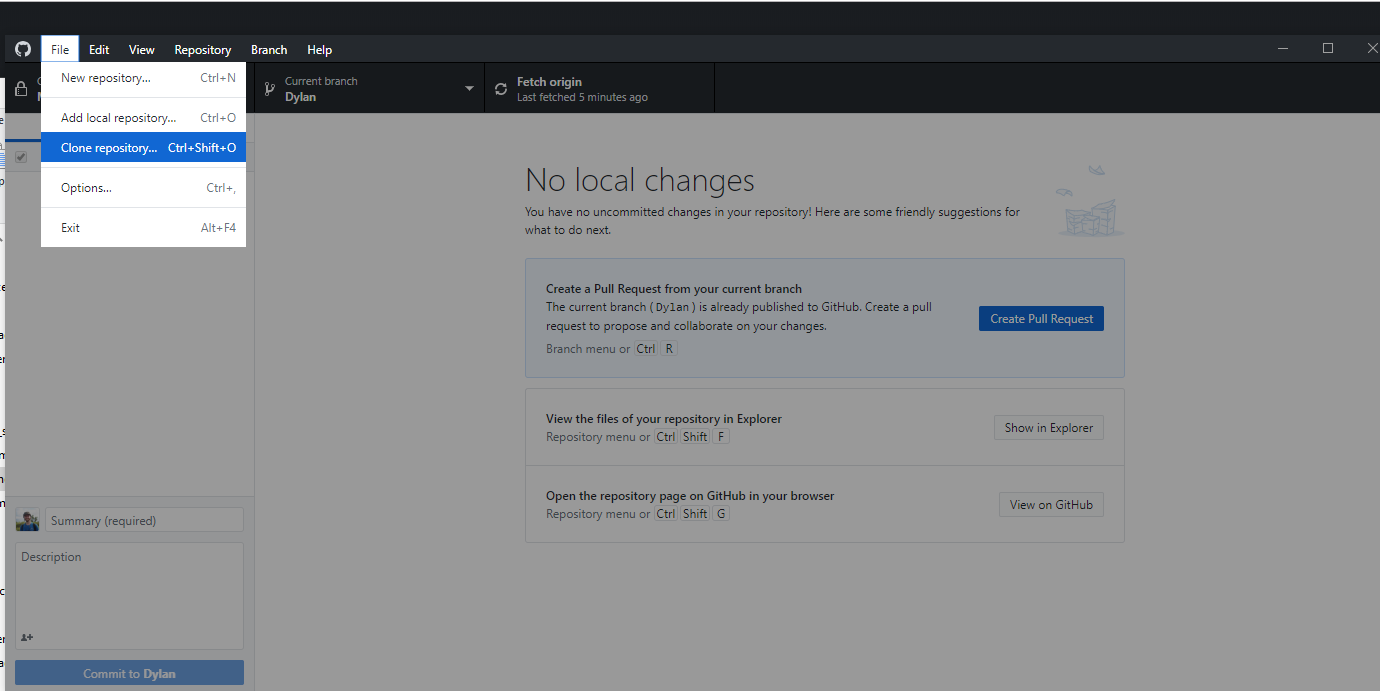
- Click “File” then click “Clone Repository”.
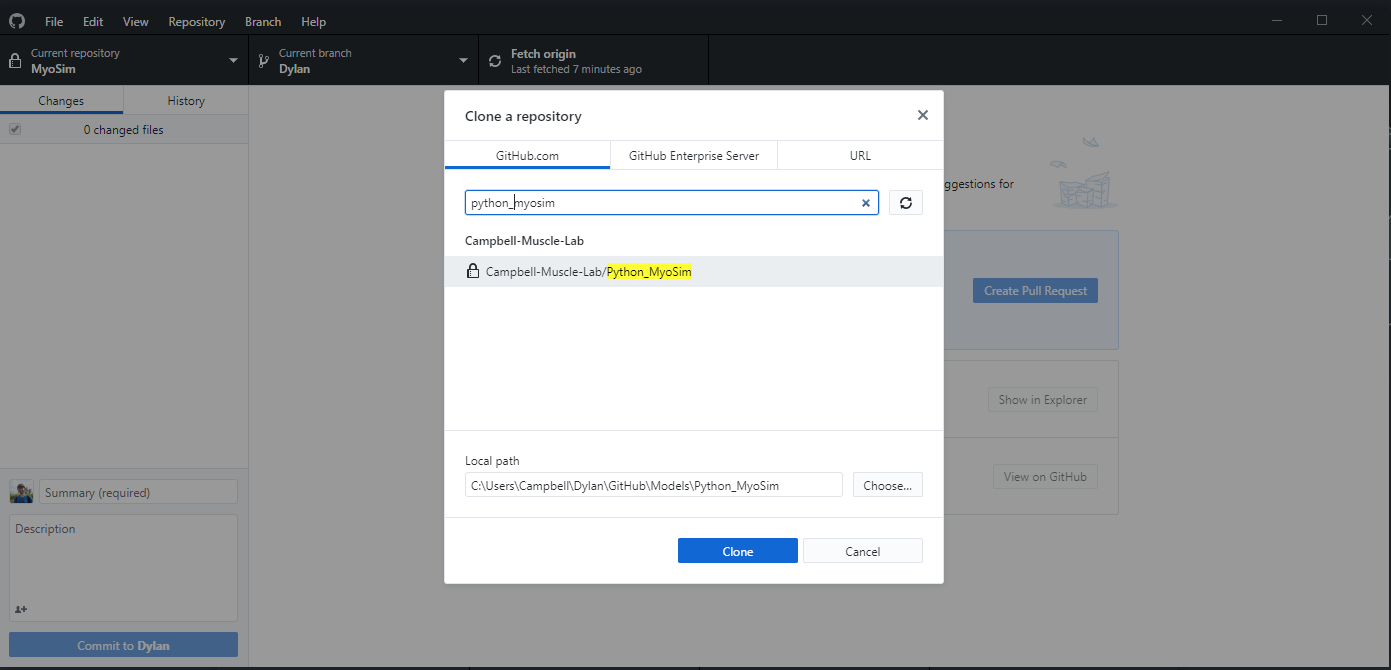
- Clone the Python_MyoSim repository.
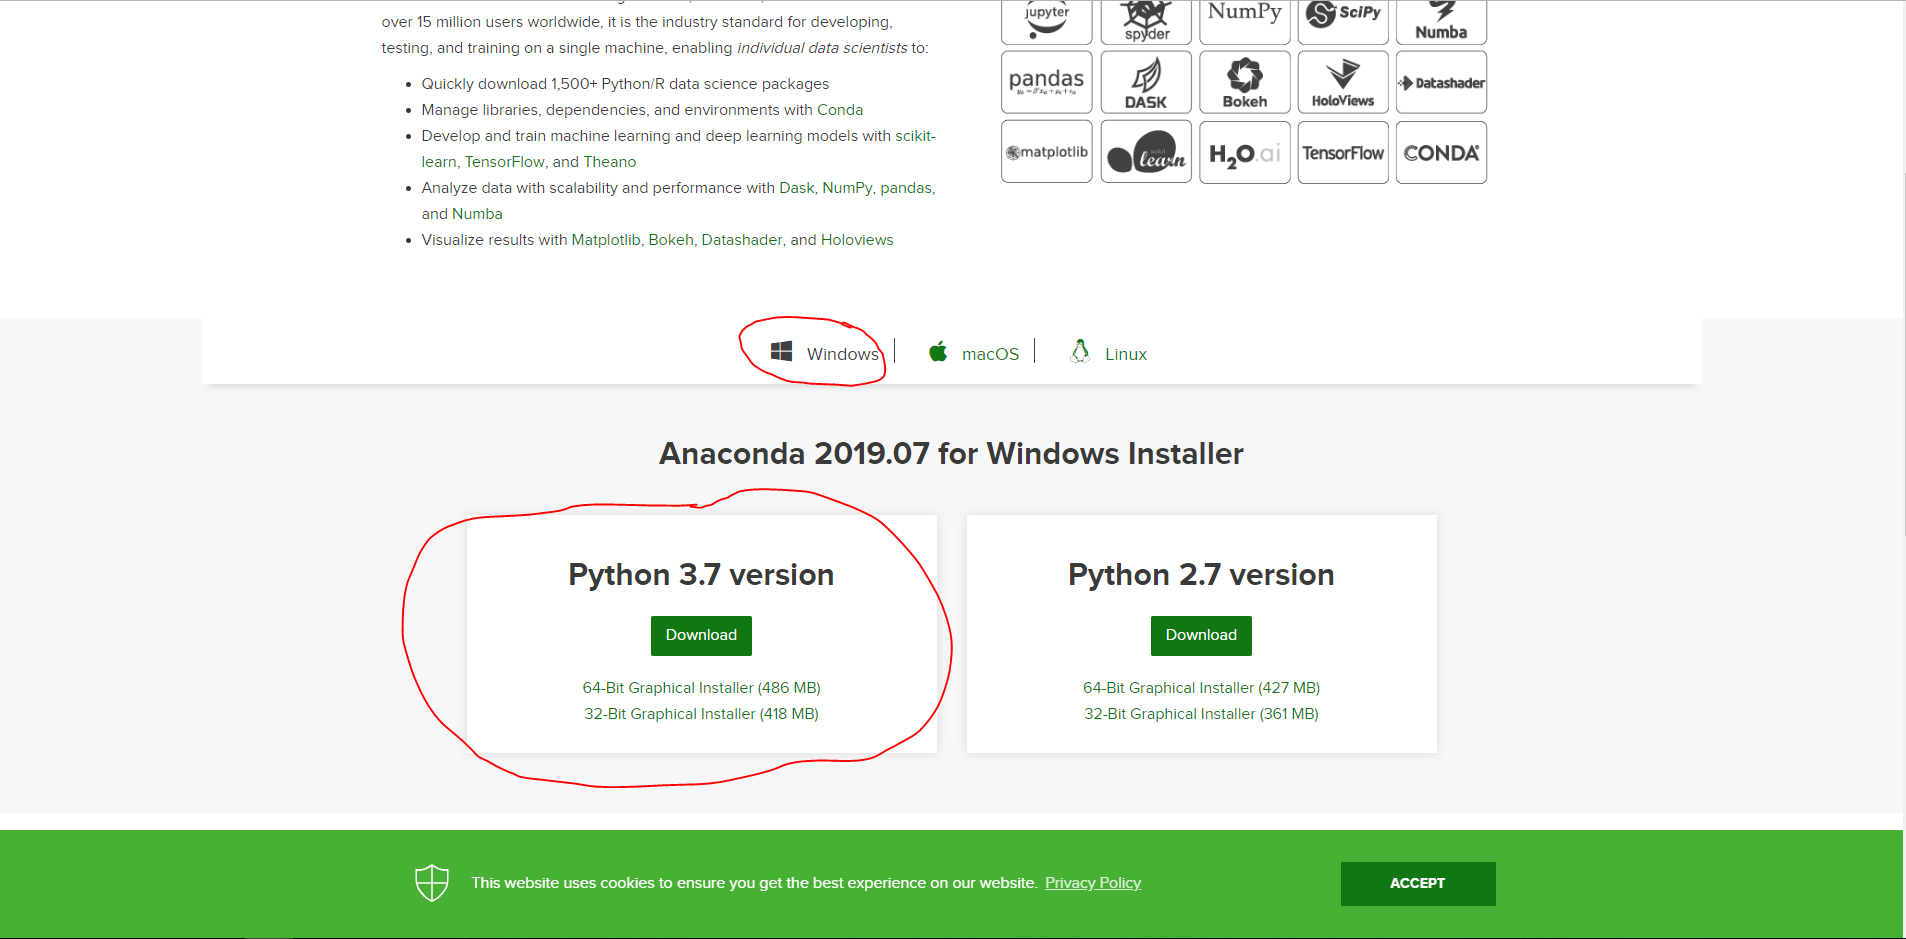
- Download Anaconda - Go to https://www.anaconda.com/distribution/ and download the Python 3.7 version of Anaconda after clicking the “Windows” button.
- Follow the installation instructions prompted by the Anaconda installer and accept all default options.
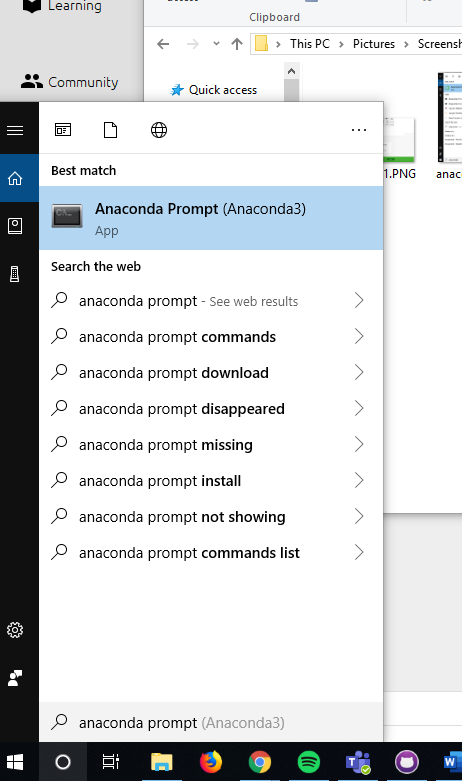
- Launch the Anaconda Prompt from the Start Menu.
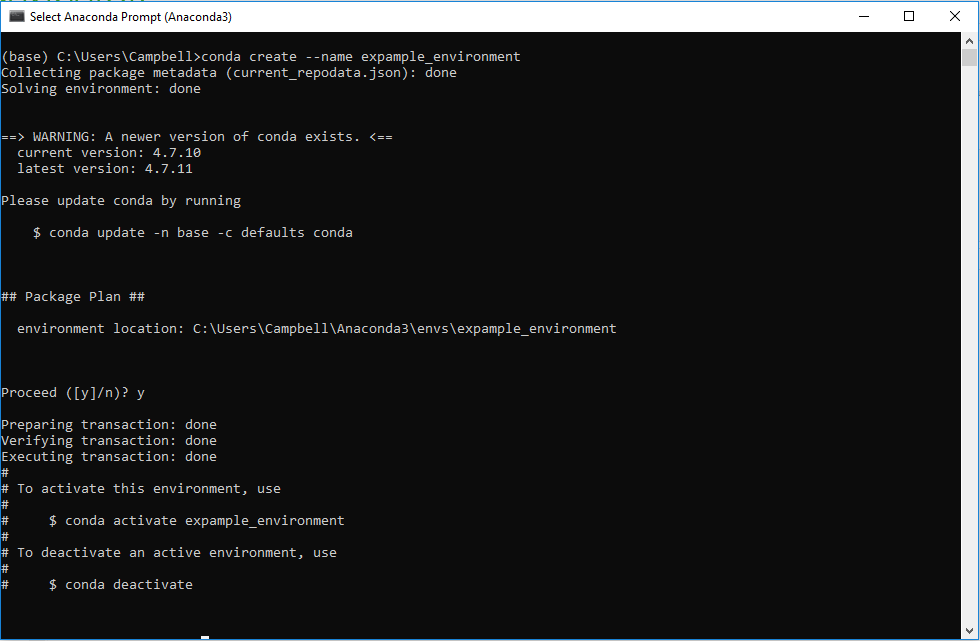
- Type
conda create –name <NAME_OF_YOUR_ENVIRONMENT>where<NAME_OF_YOUR_ENVIRONMENT>is the name of the environment you would like to create. In this example, I’ve chosenexample_environment. Typeyfor “yes” when you’re prompted to and hit Enter on your keyboard.
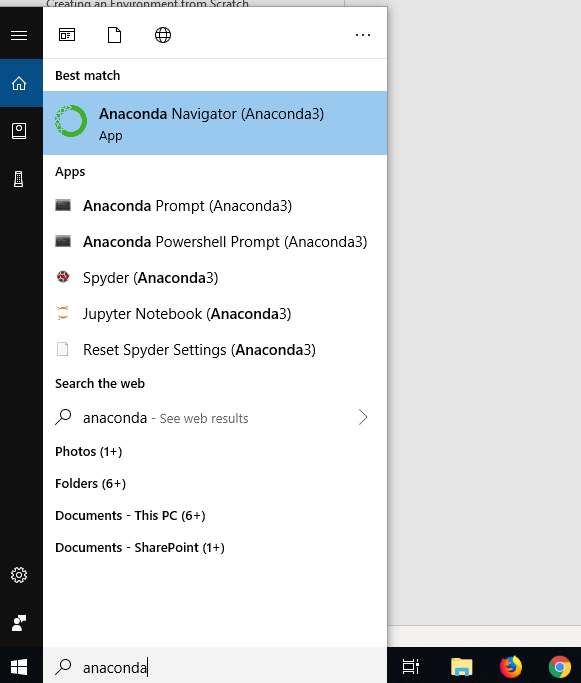
- Launch the Anaconda Navigator from the Start Menu.
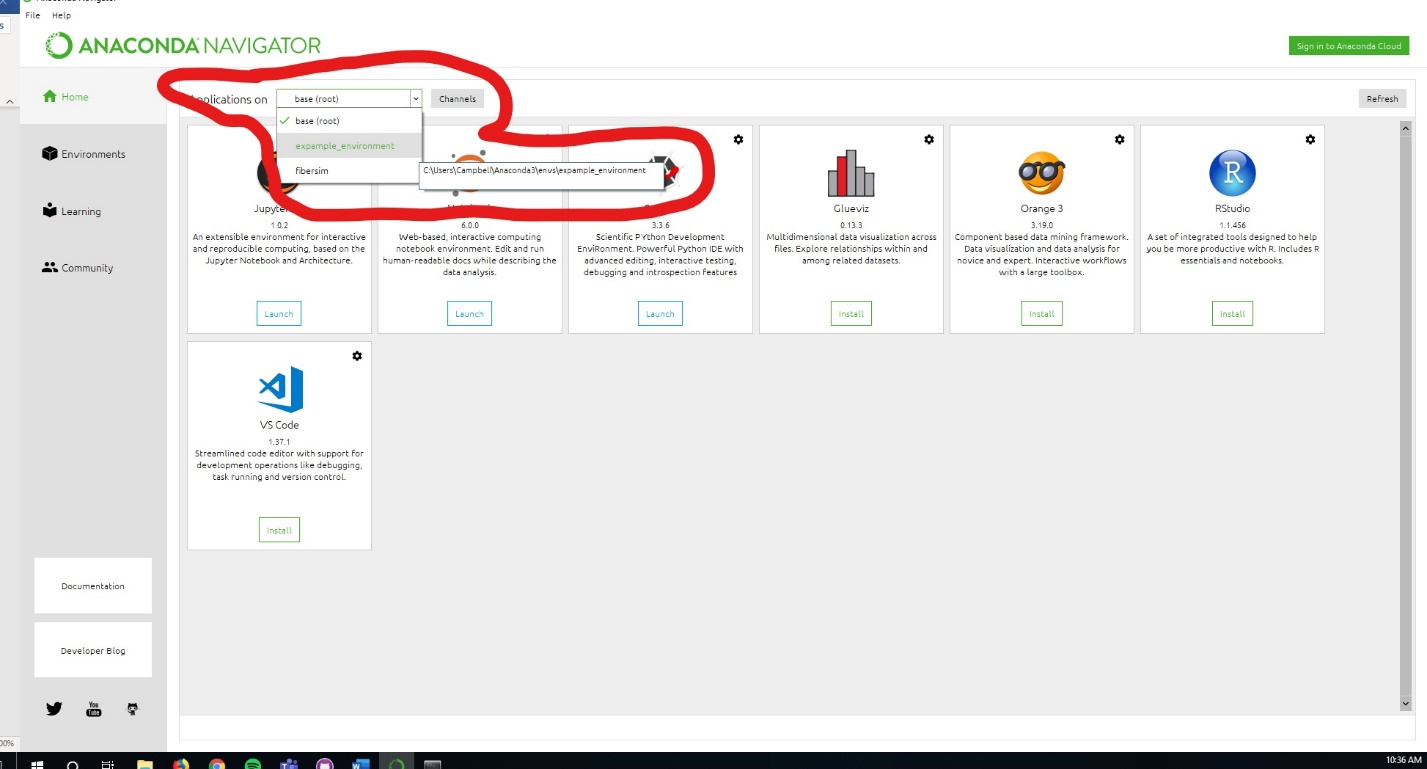
- Change into the created environment by selecting it from the drop-down menu in the Anaconda Navigator.
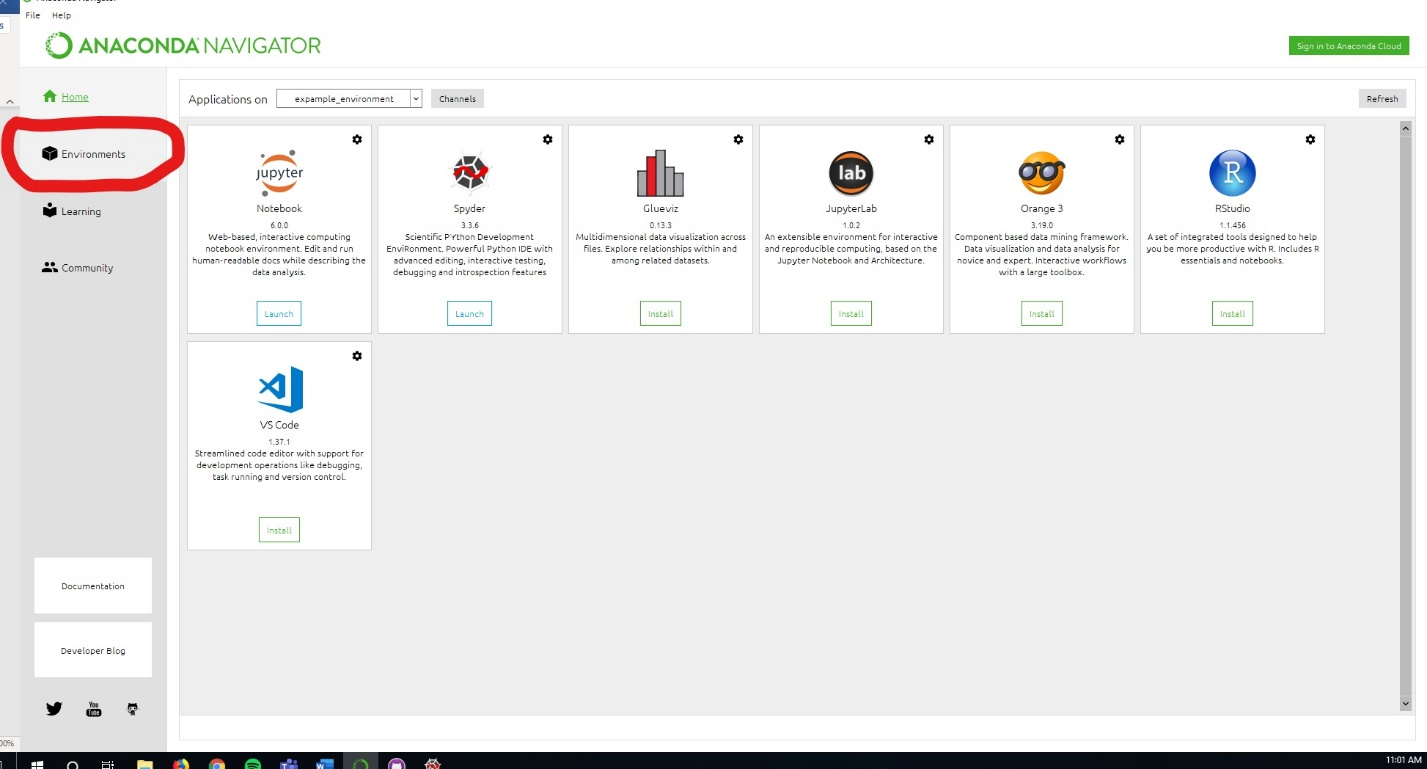
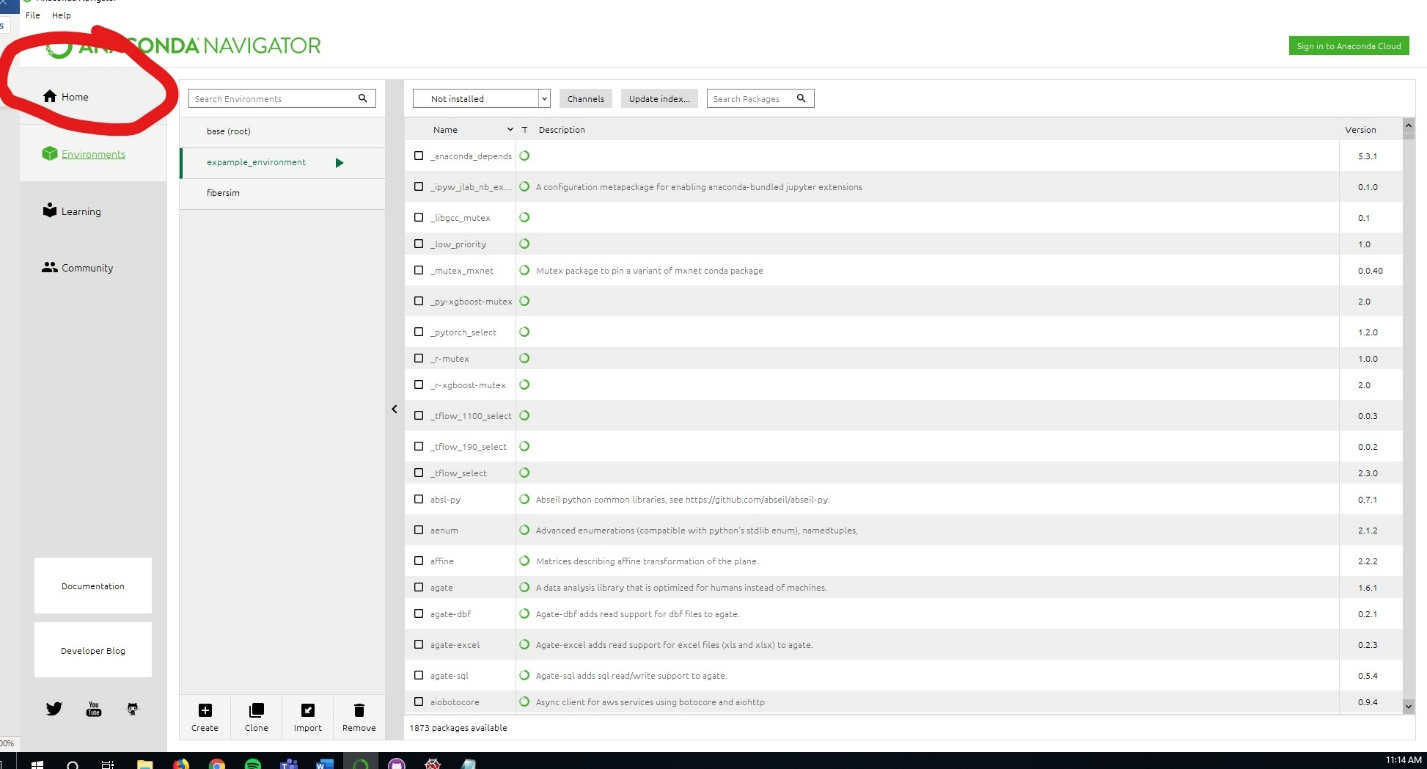
- Click the “Environments” button on the left panel of the Anaconda Navigator.
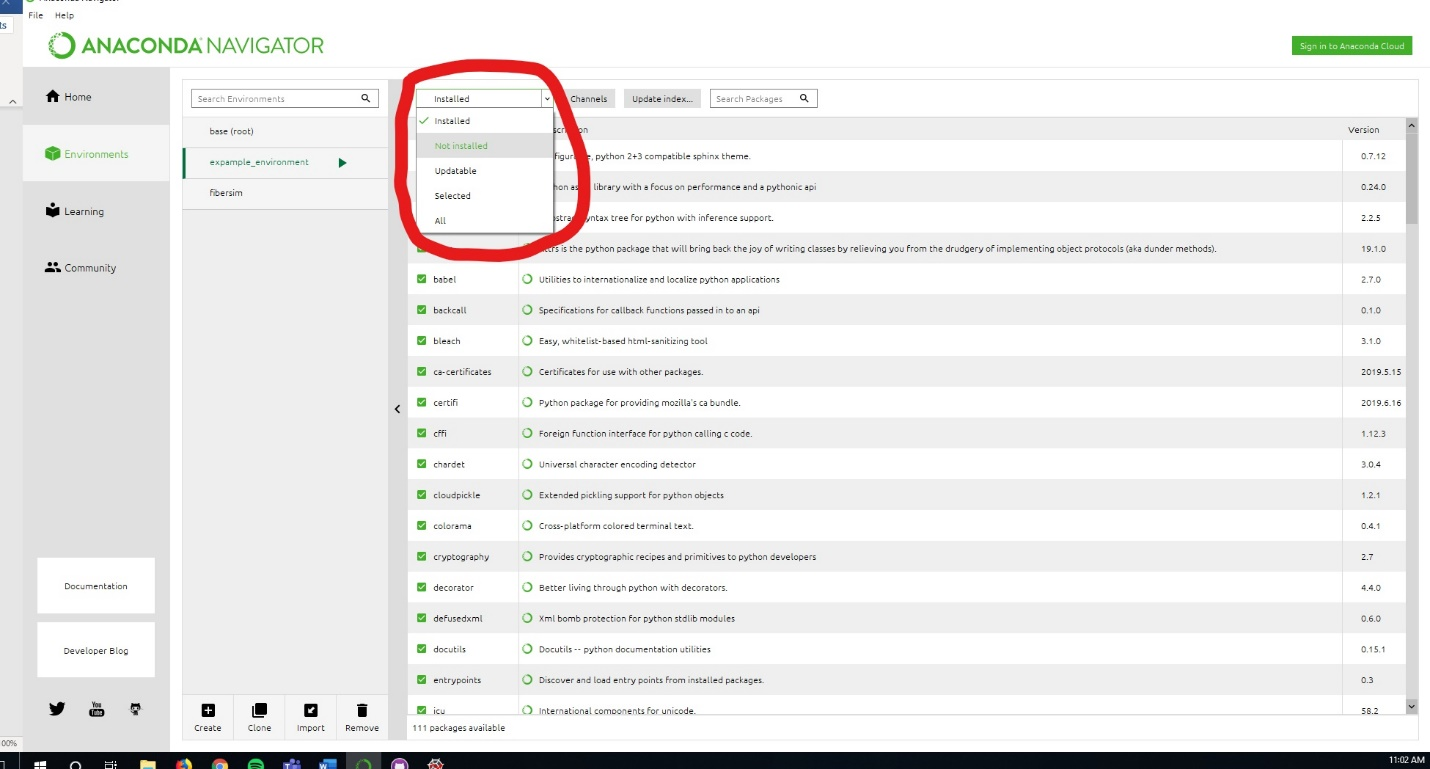
- Change the package view to “Not Installed” by selecting it from the drop-down menu.
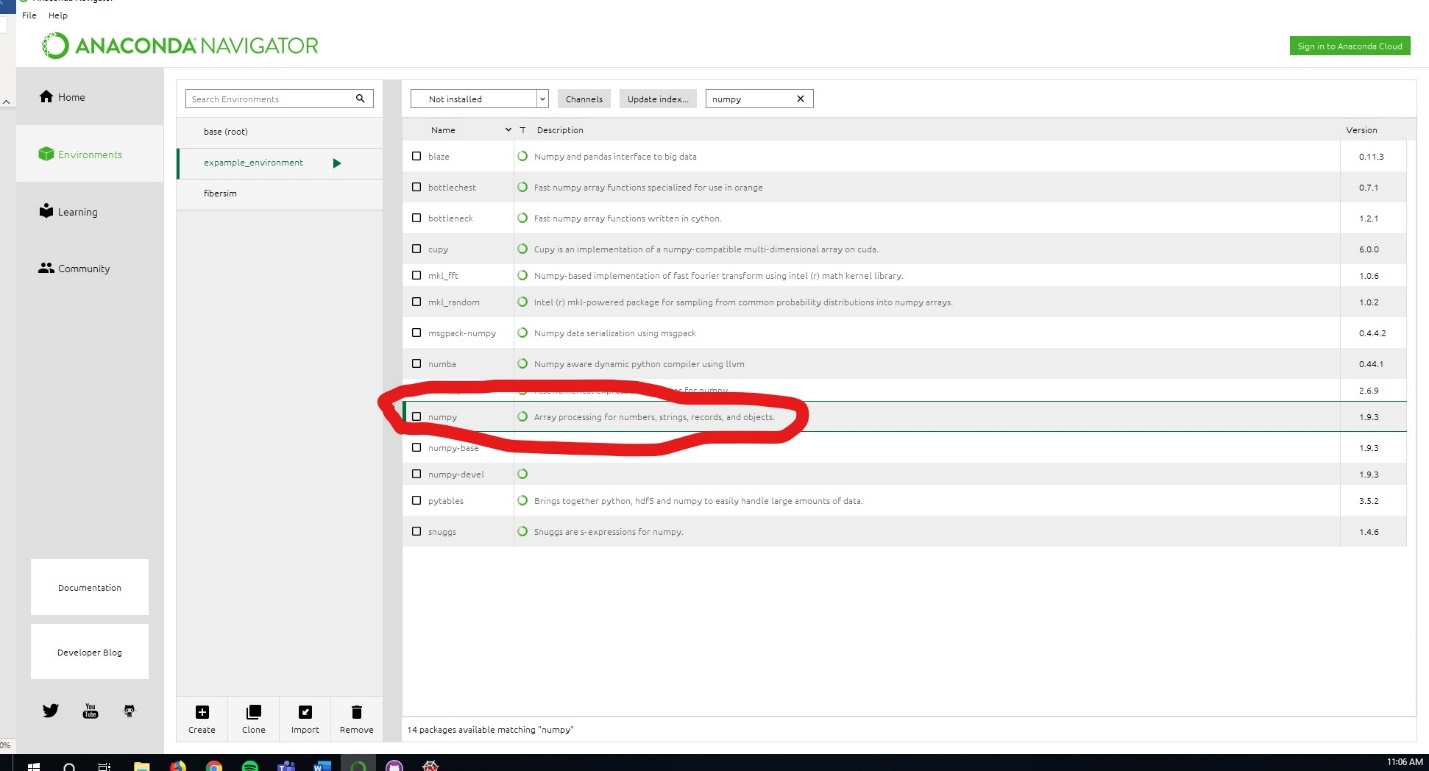
- Search for and click the check box of numpy package.
- Repeat step 14 for the following packages: “pandas”, “matplotlib”, “scipy”.
- Click “Apply” on the bottom left of the screen and proceed through the prompts.
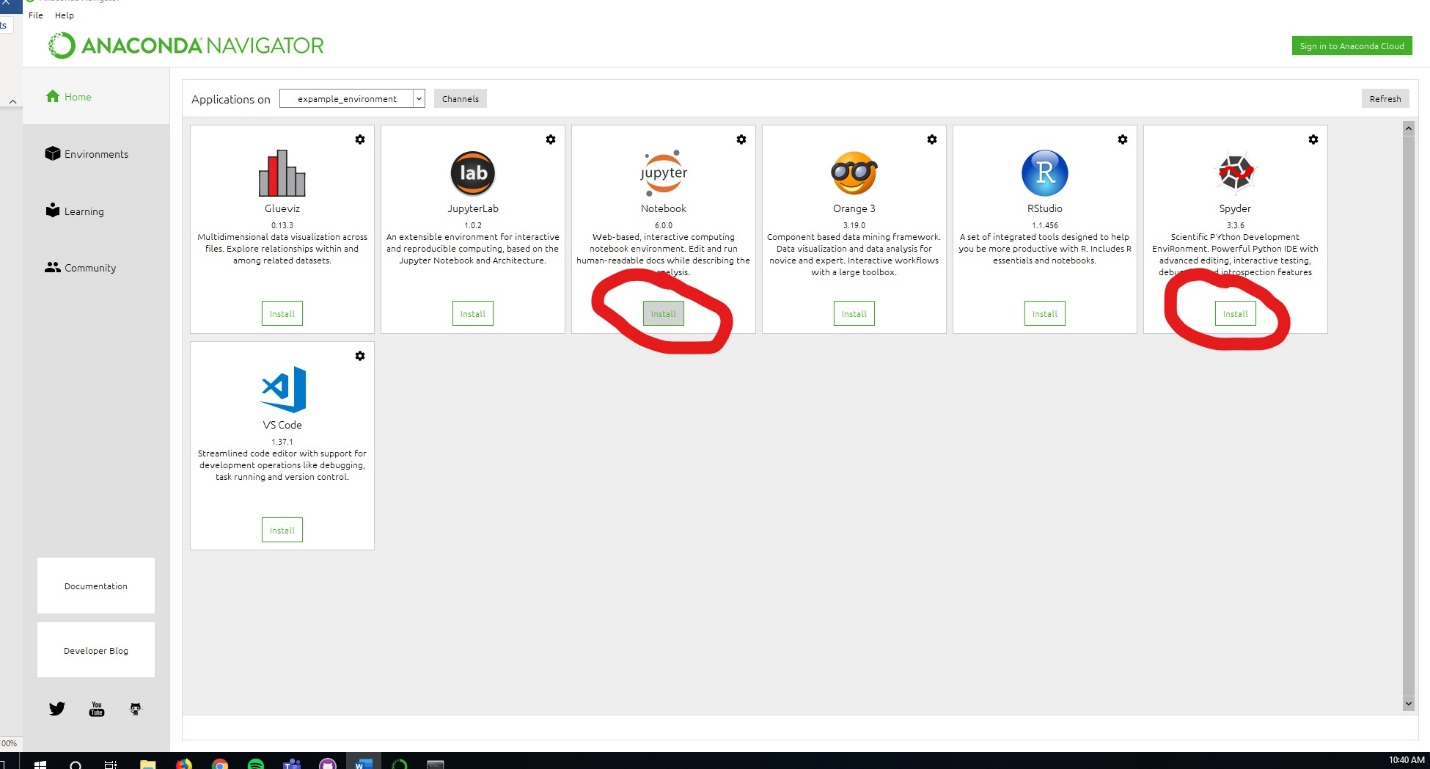
- Navigate back to “Home”.
- Install Spyder and Jupyter Notebook by clicking “Install” for both applications.
- Launch Spyder through the same Anaconda Navigator window after installation.
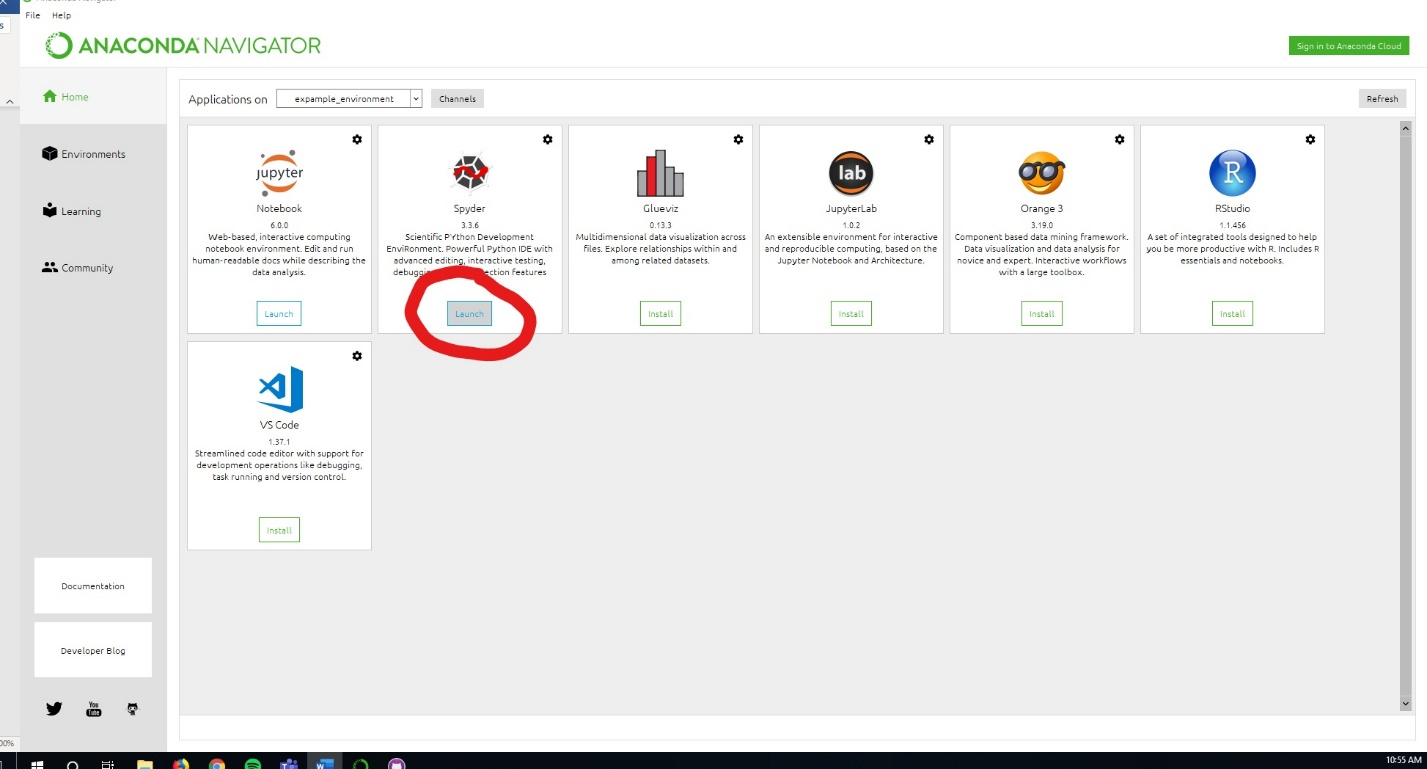
- Begin coding.