Generating Doxygen Documentation
This page goes over the steps required to generate Doxygen documentation from code that was written with our best practices.
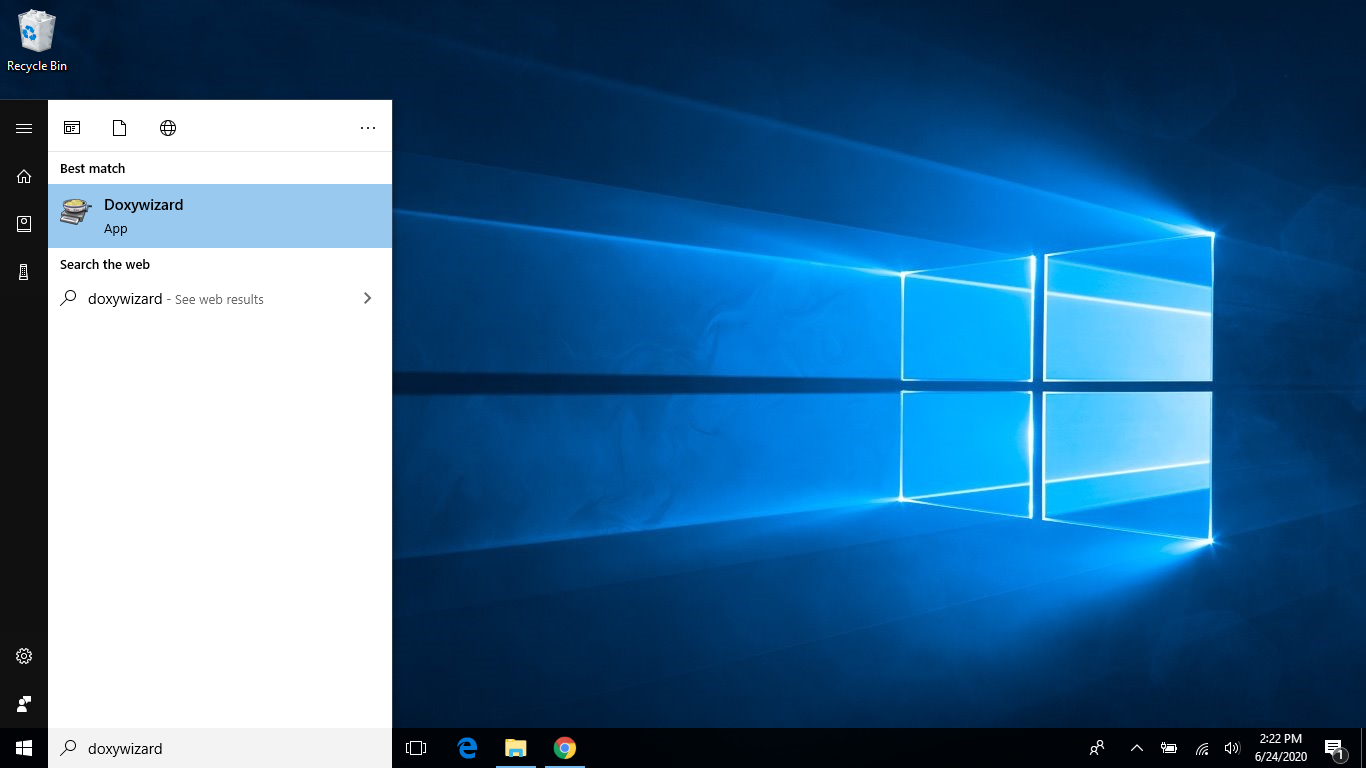
- Open the Doxygen GUI, “doxywizard”, by opening the Windows Start Menu, typing “doxywizard” into the prompt, and hitting Enter.
- Hit the
Selectbutton for selecting the folder with which Doxygen will run.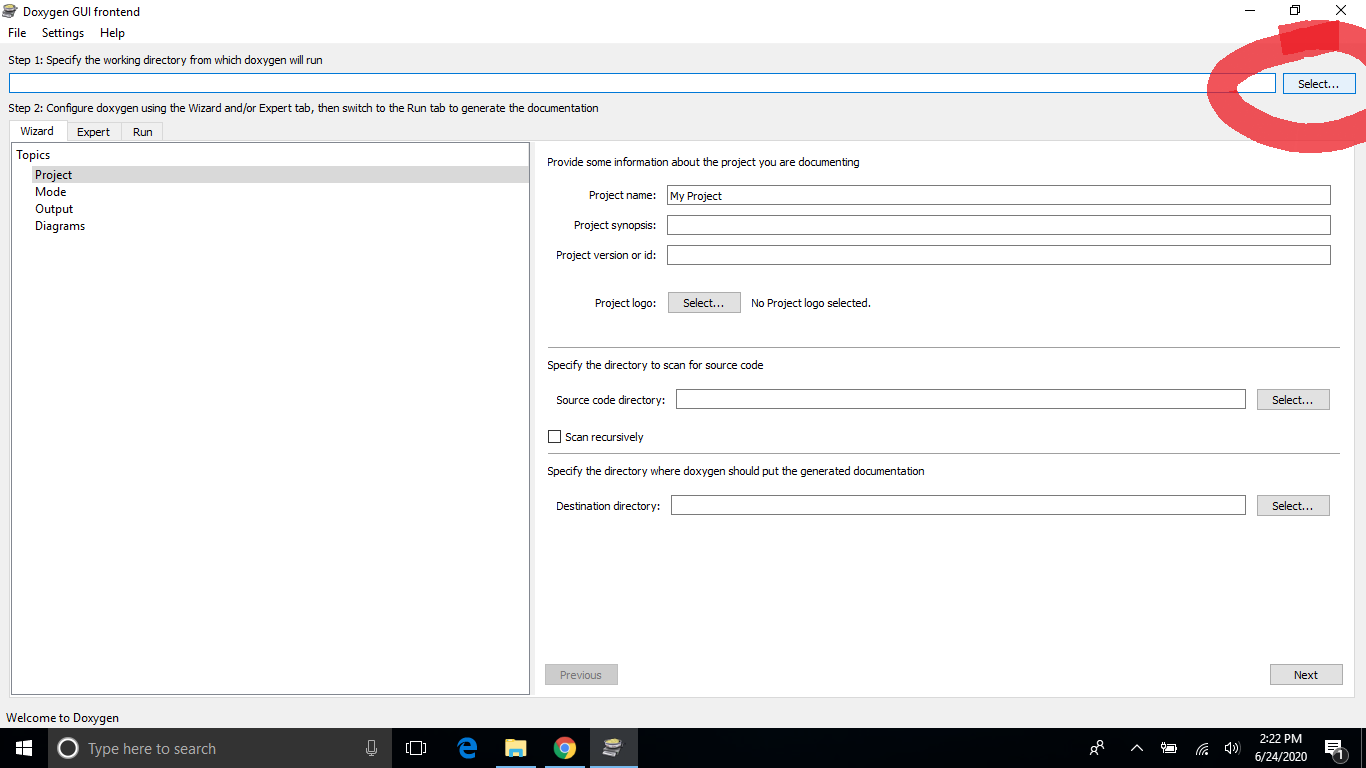
- In the dialog box that opens, select where in your repository you would like Doxygen to put the generated documentation and click
Select Folder.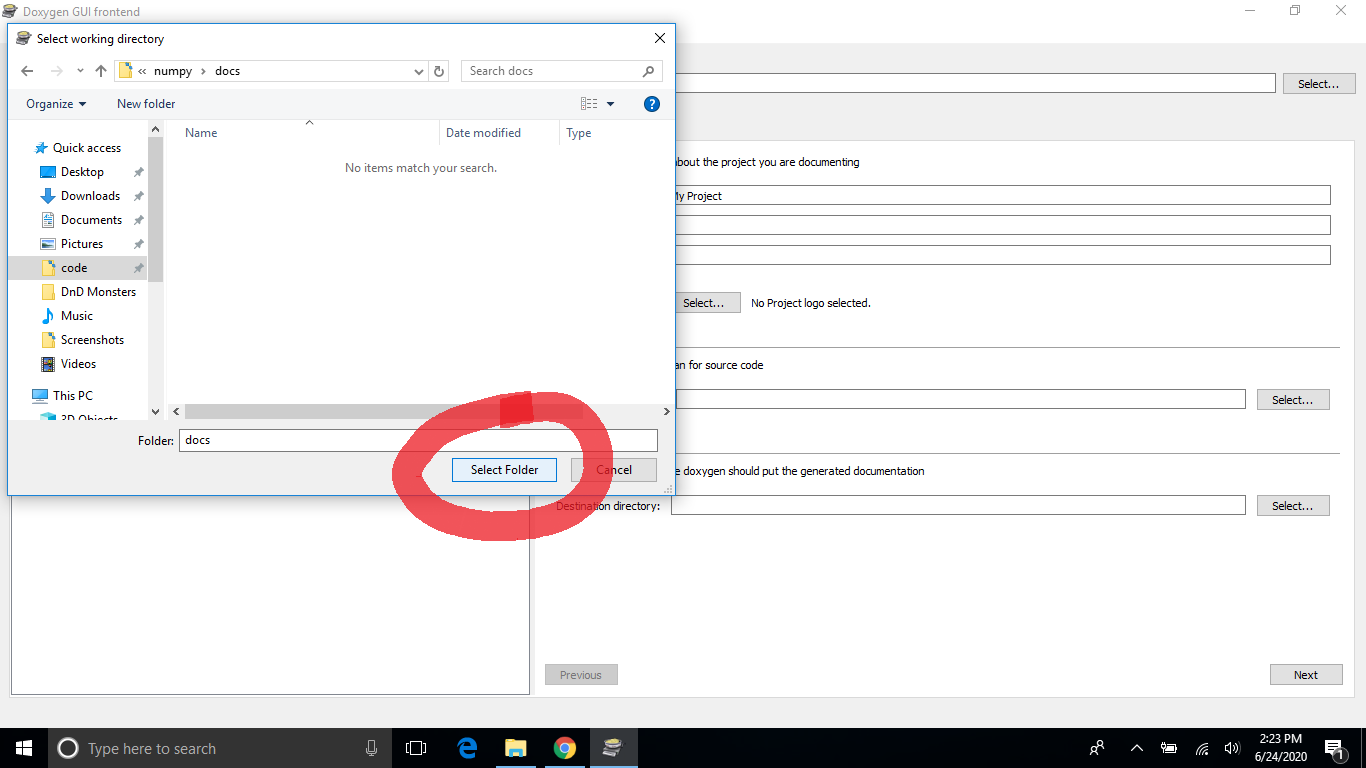
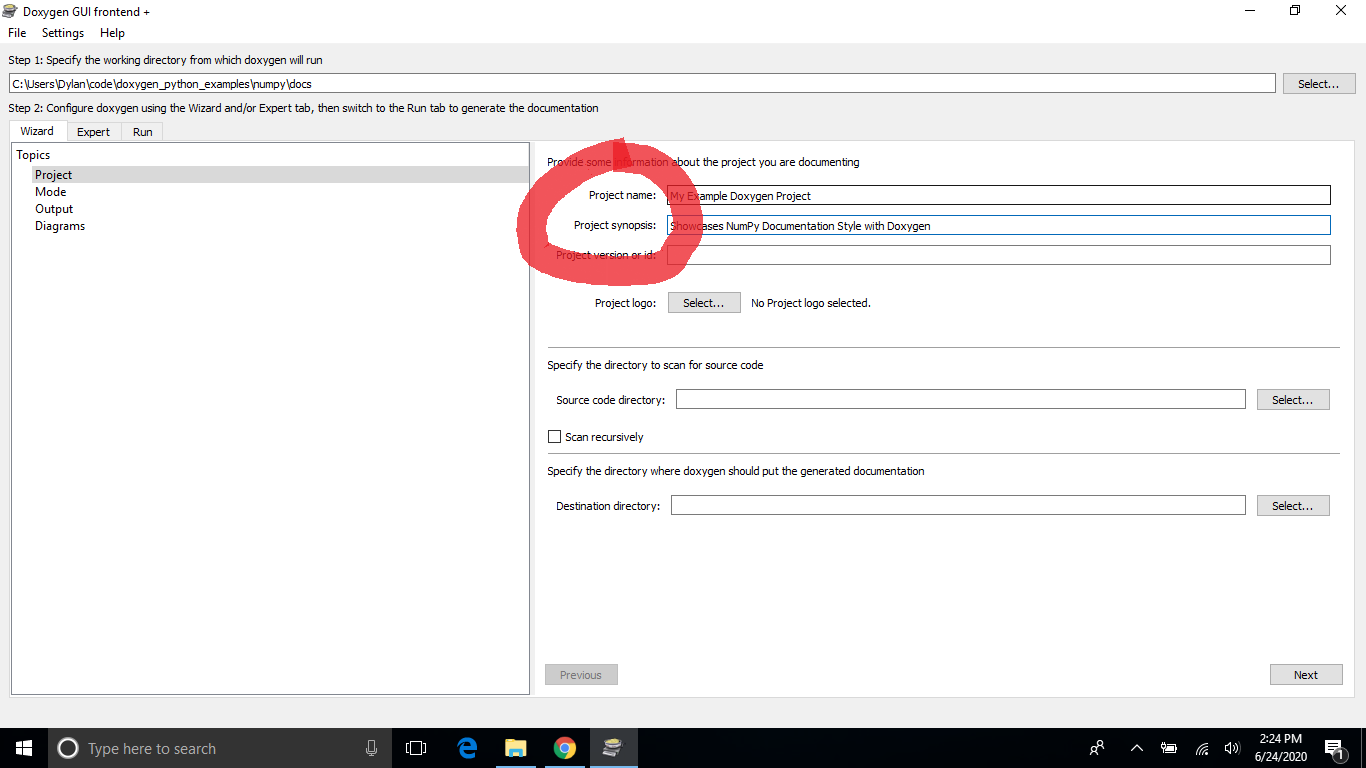
- Enter the project name and description in the prompts.
- Click the
Select...button for specifying the directory where the project’s source code is.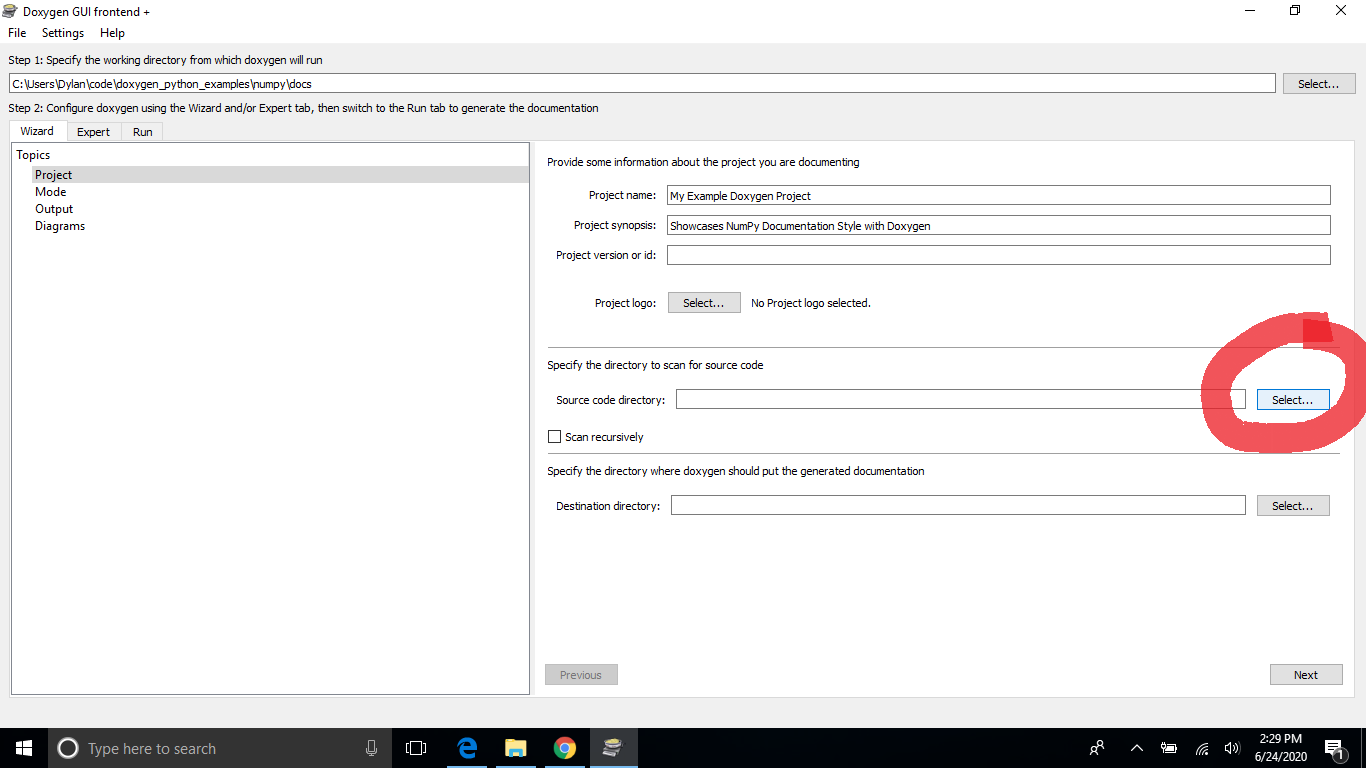
- Select the source code directory for your project in the dialog box and click the
Select Folderbutton.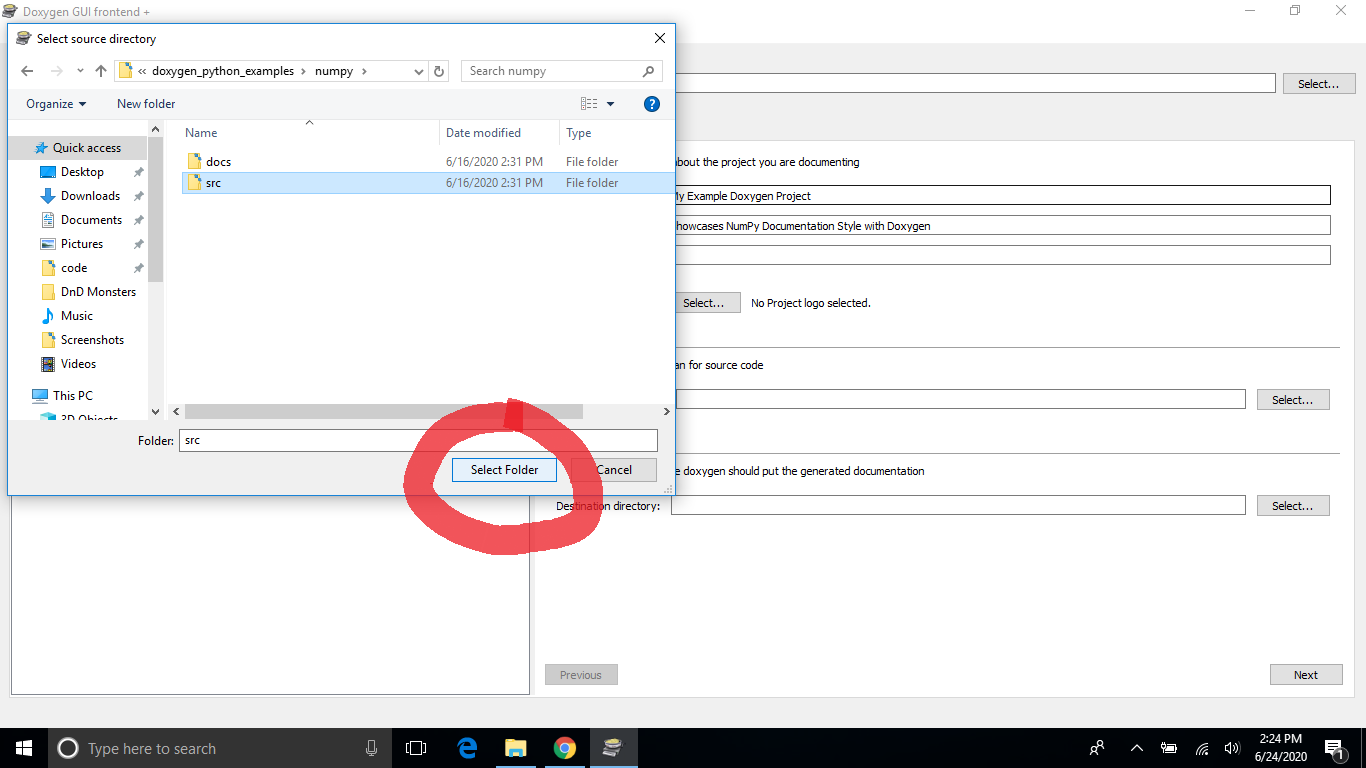
- In the main GUI menu, select the
Scan recursivelycheckbox.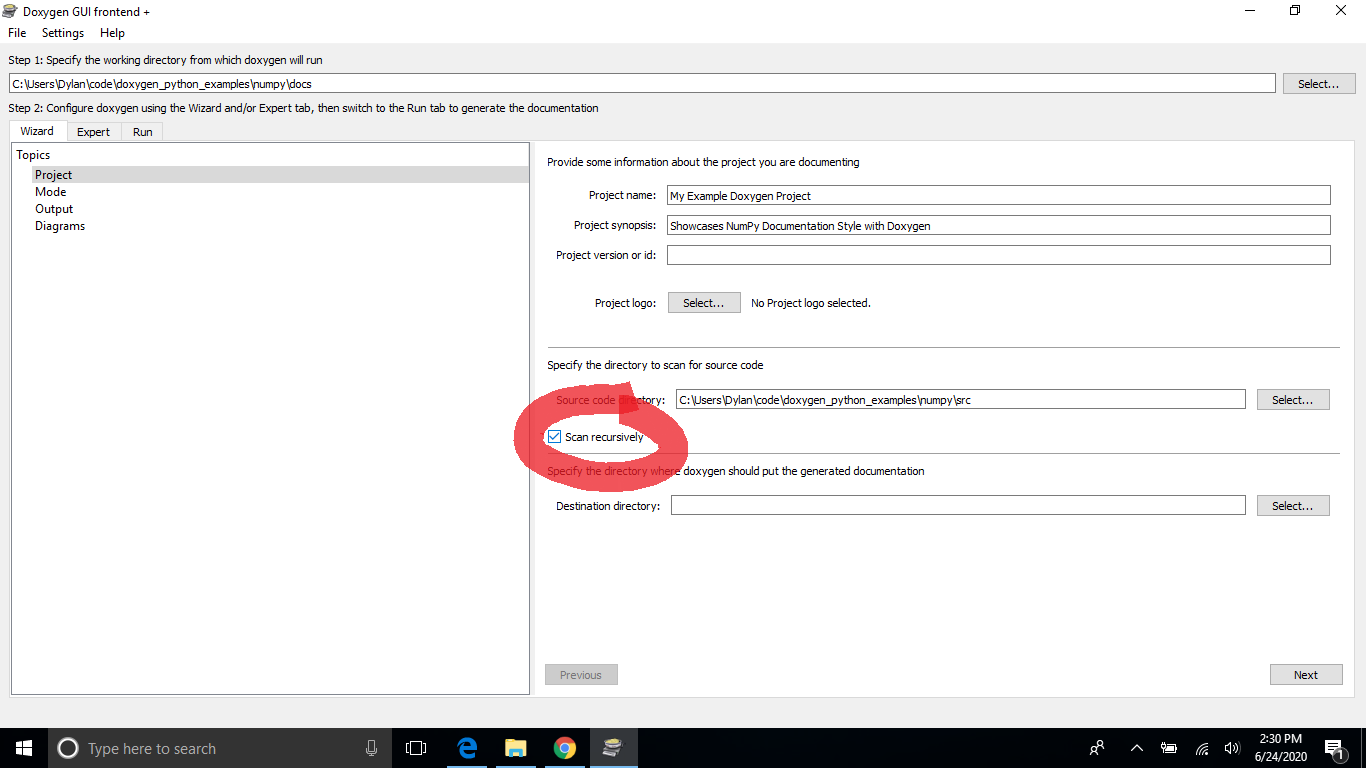
- Press the
Select...button to choose the directory where the generated documentation will go.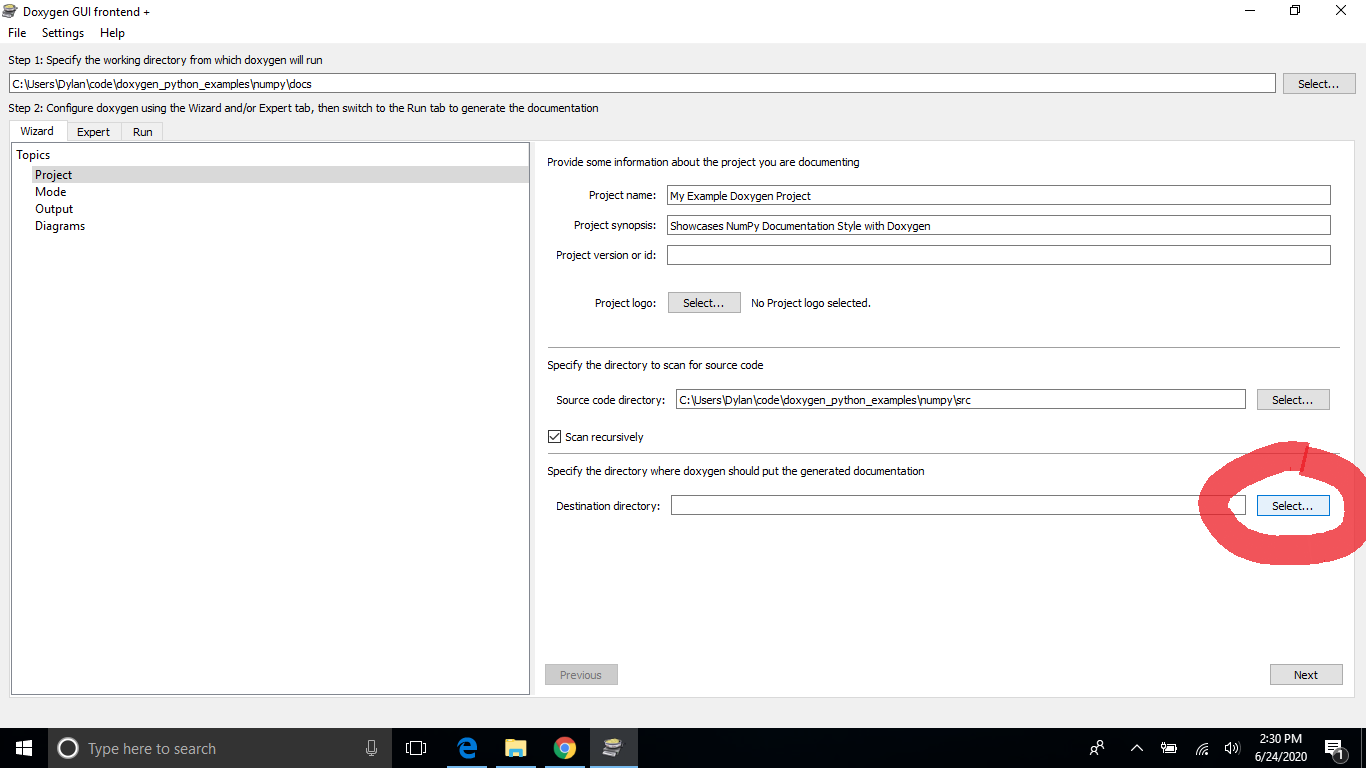
- Click the
Select Folderbutton on the pop-up dialog. You won’t have to select a new folder if you followed step 3 correctly.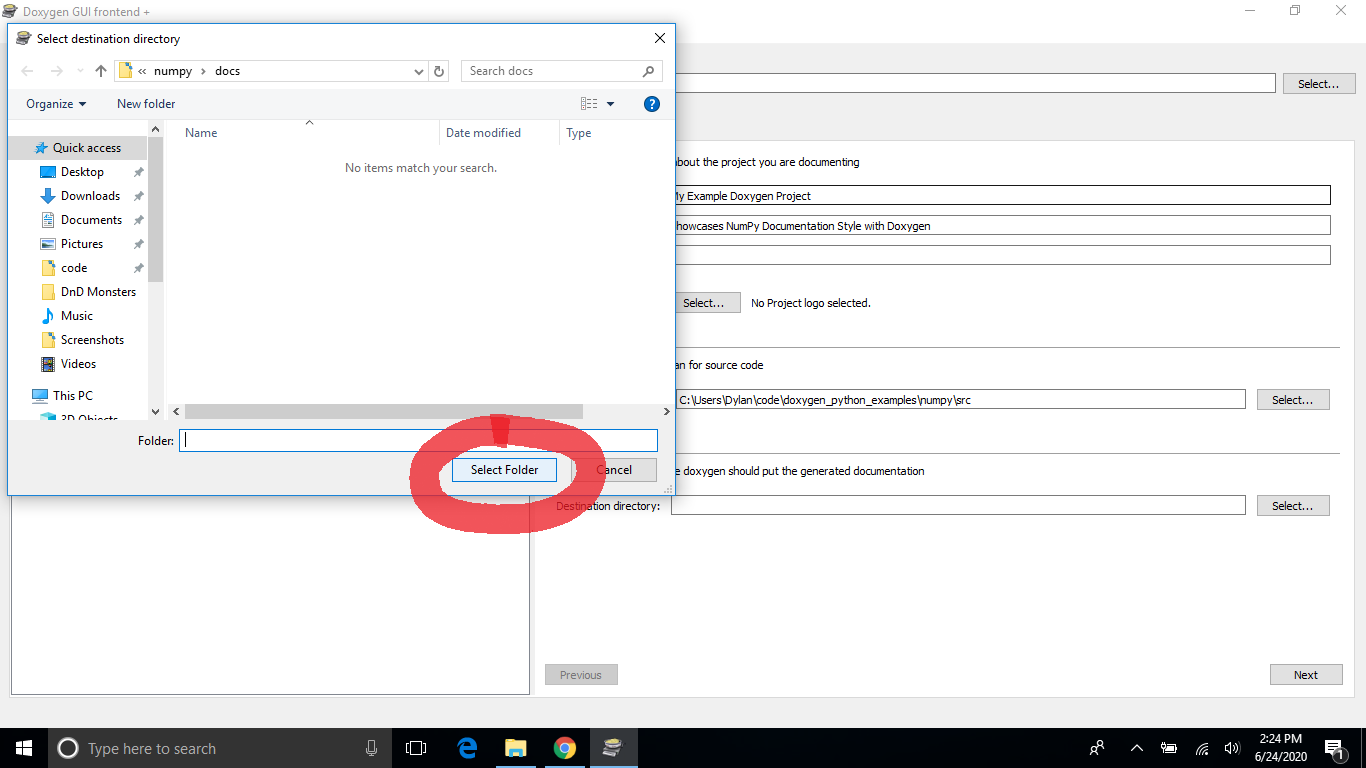
- Click the
Nextbutton to advance to the “Mode” menu.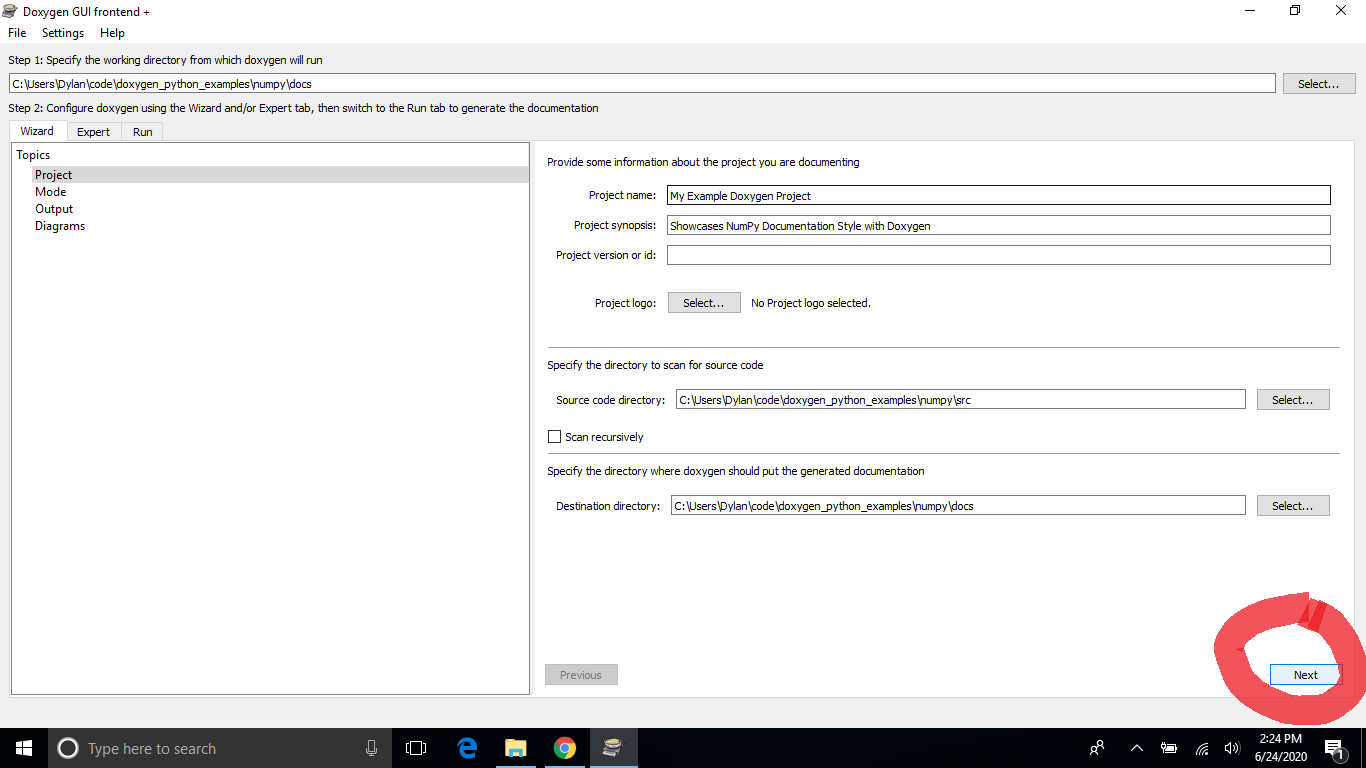
- Select the “All Entities”, “Include cross-referenced source code in the output”, and “Optimize for Java or C# output” options and click the
Nextbutton to advance the the “Output” menu.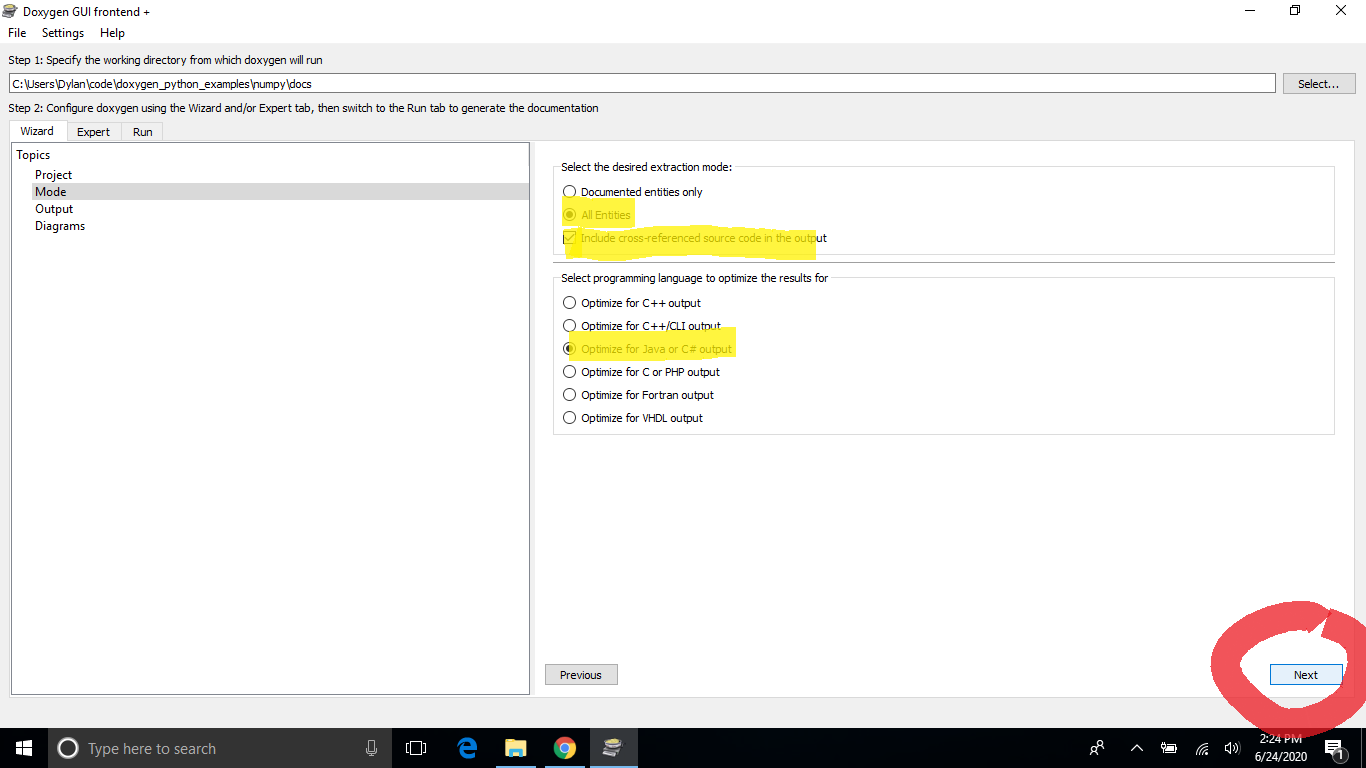
- Under the “HTML” options, select “with navigation panel”. Deselct the “LaTeX” option. Click the
Nextbutton to advance the “Diagrams” menu.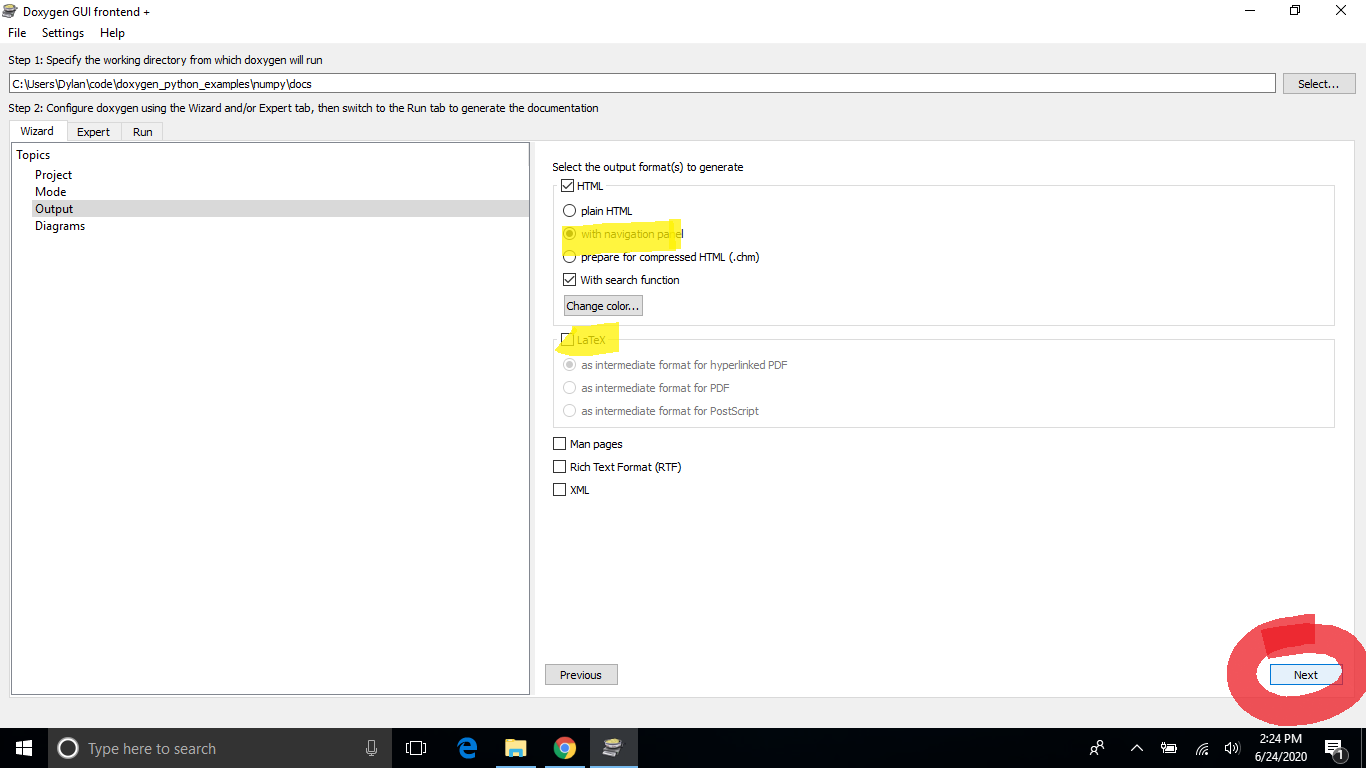
- Click the
Nextbutton to advance to the “Run” menu. You don’t need to do any customization here.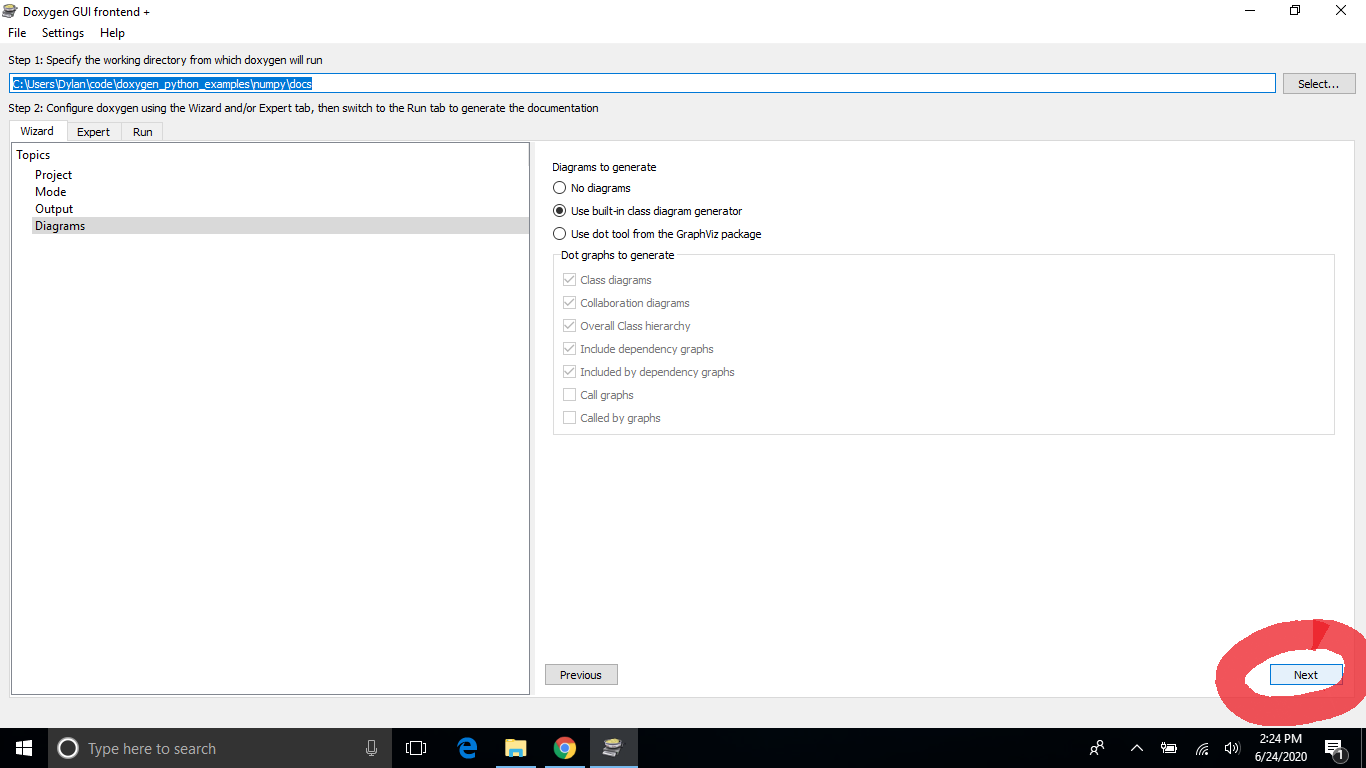
- Click the
Run Doxygenbutton and allow Doxygen to run.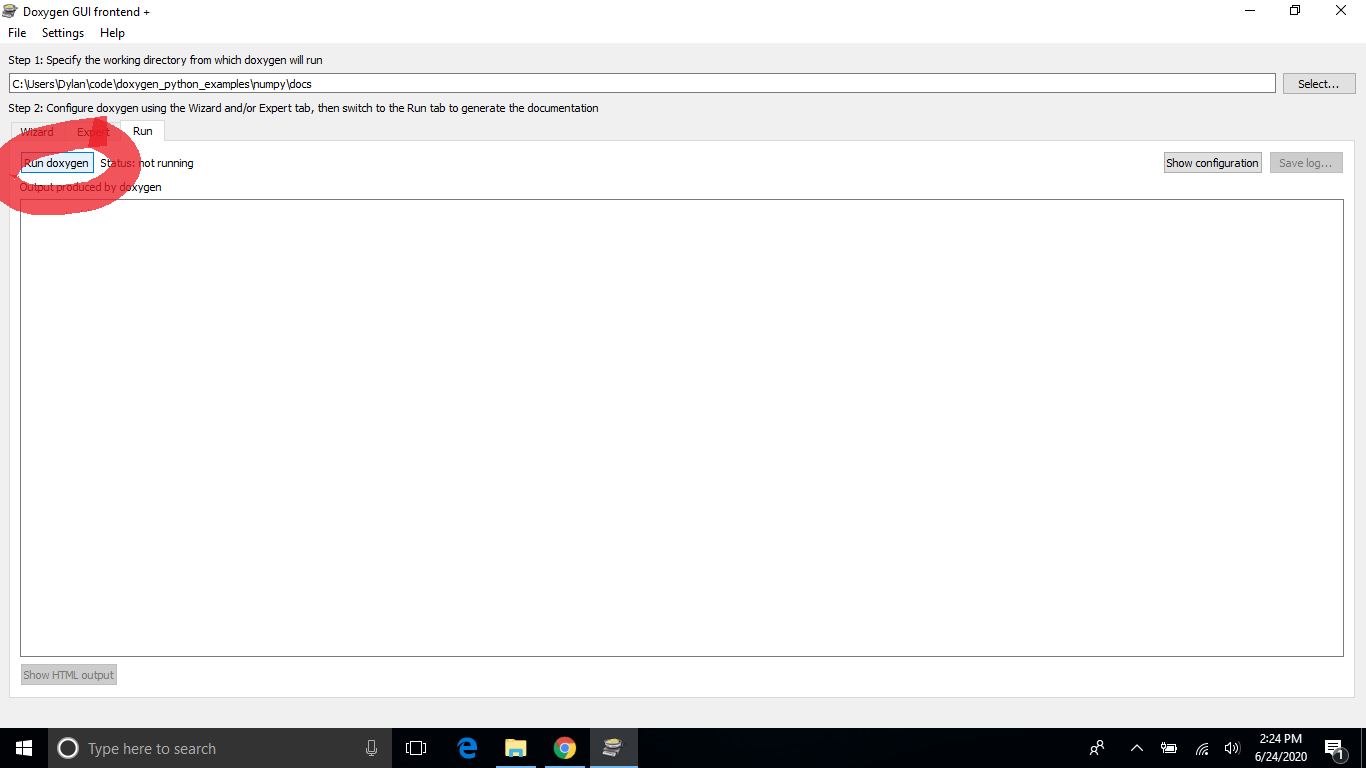
- Click the
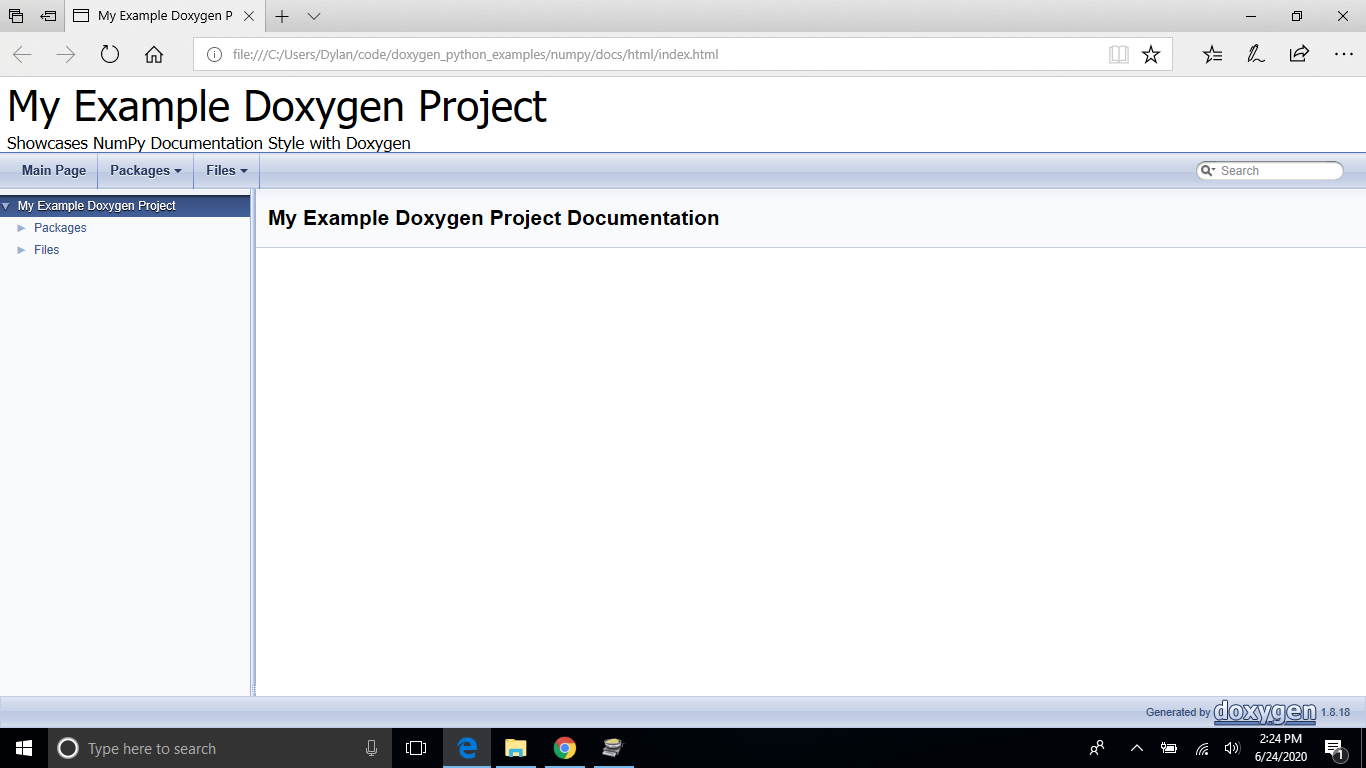
Show HTML outputbutton.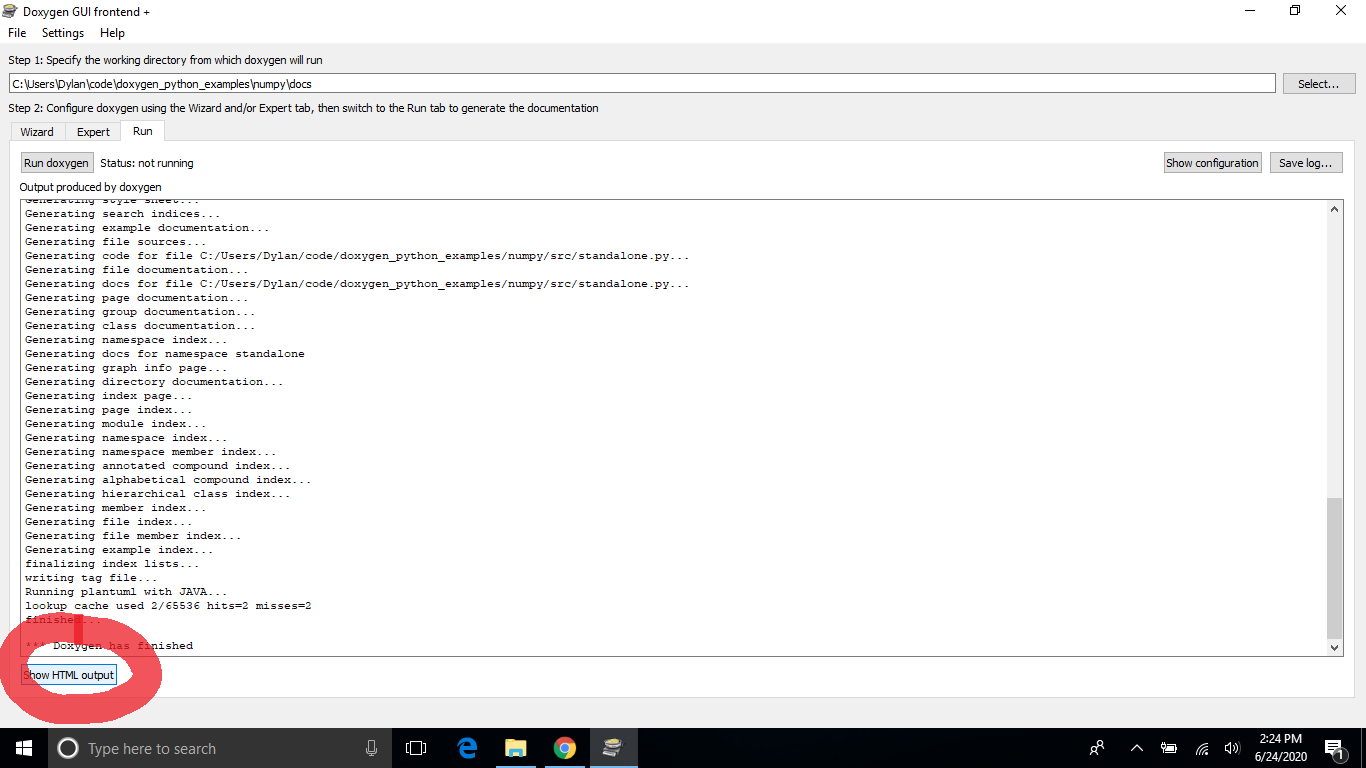
- Verify that the documentation was generated correctly. And begin exploring your documented code!