Isometric activation
Overview
This demo shows how to run a single isometric simulation.
What this demo does
This demo:
- Runs a single simulation in which a half-sarcomere is held isometric and activated in a solution with a pCa of 4.5
- Plots a summary of the simulation
Instructions
If you need help with these step, check the installation instructions.
- Open an Anaconda prompt
- Activate the FiberSim environment
- Change directory to
<FiberSim_repo>/code/FiberPy/FiberPy - Run the command
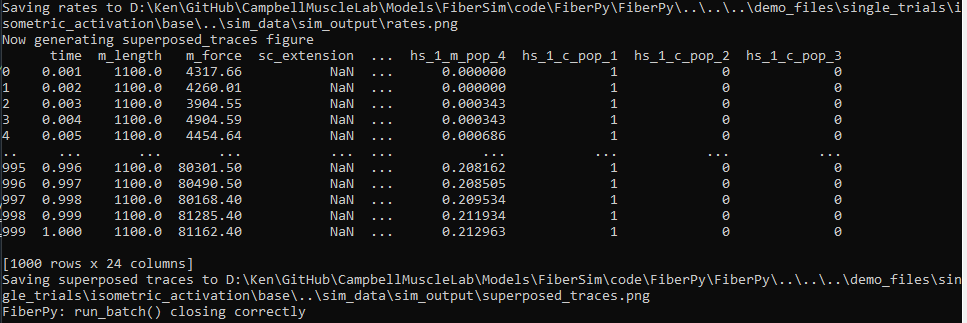
python FiberPy.py characterize "../../../demo_files/single_trials/isometric_activation/base/setup.json" - You should see text appearing in the terminal window, showing that the simulations are running. When it finishes (this may take a few minutes), you should see something similar to the image below.
Viewing the results
All of the results from the simulation are written to files in <FiberSim_repo>/demo_files/single_trials/isometric_activation/sim_data/sim_output
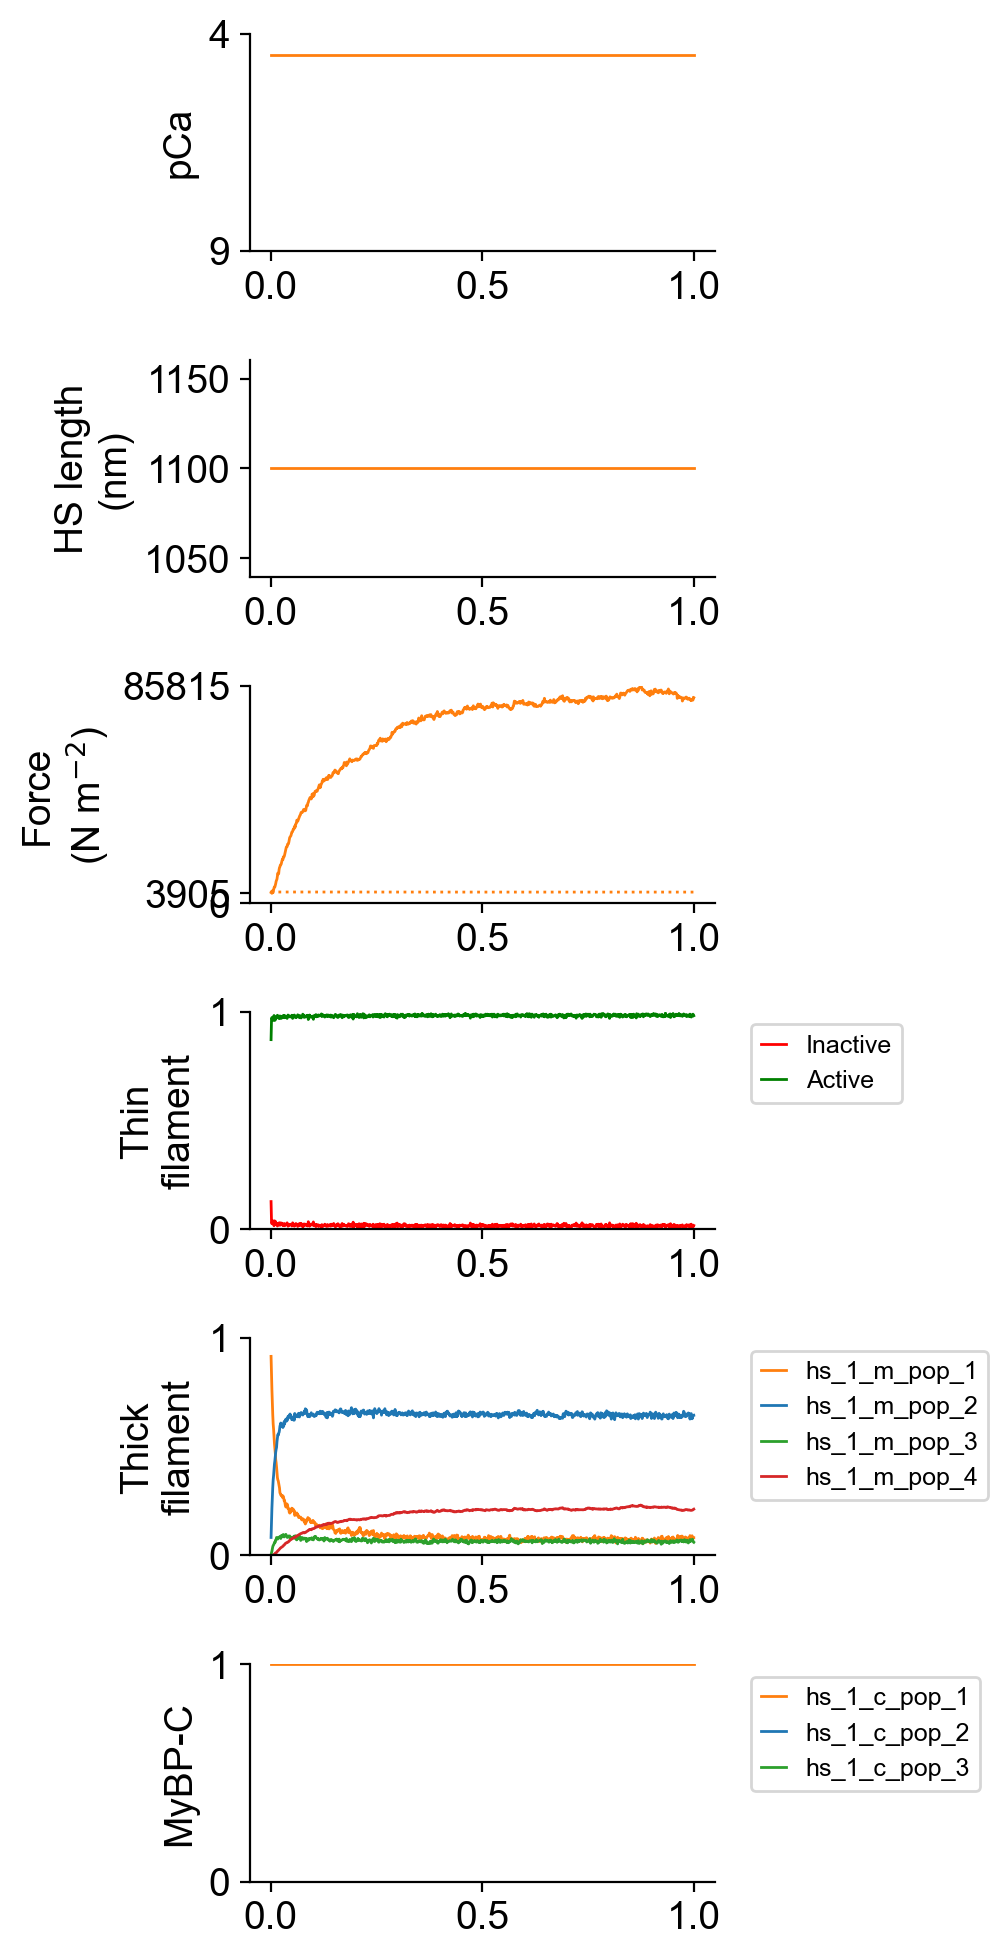
The file superposed_traces.png shows pCa, length, force per cross-sectional area (stress), and thick and thin filamnt properties plotted against time.
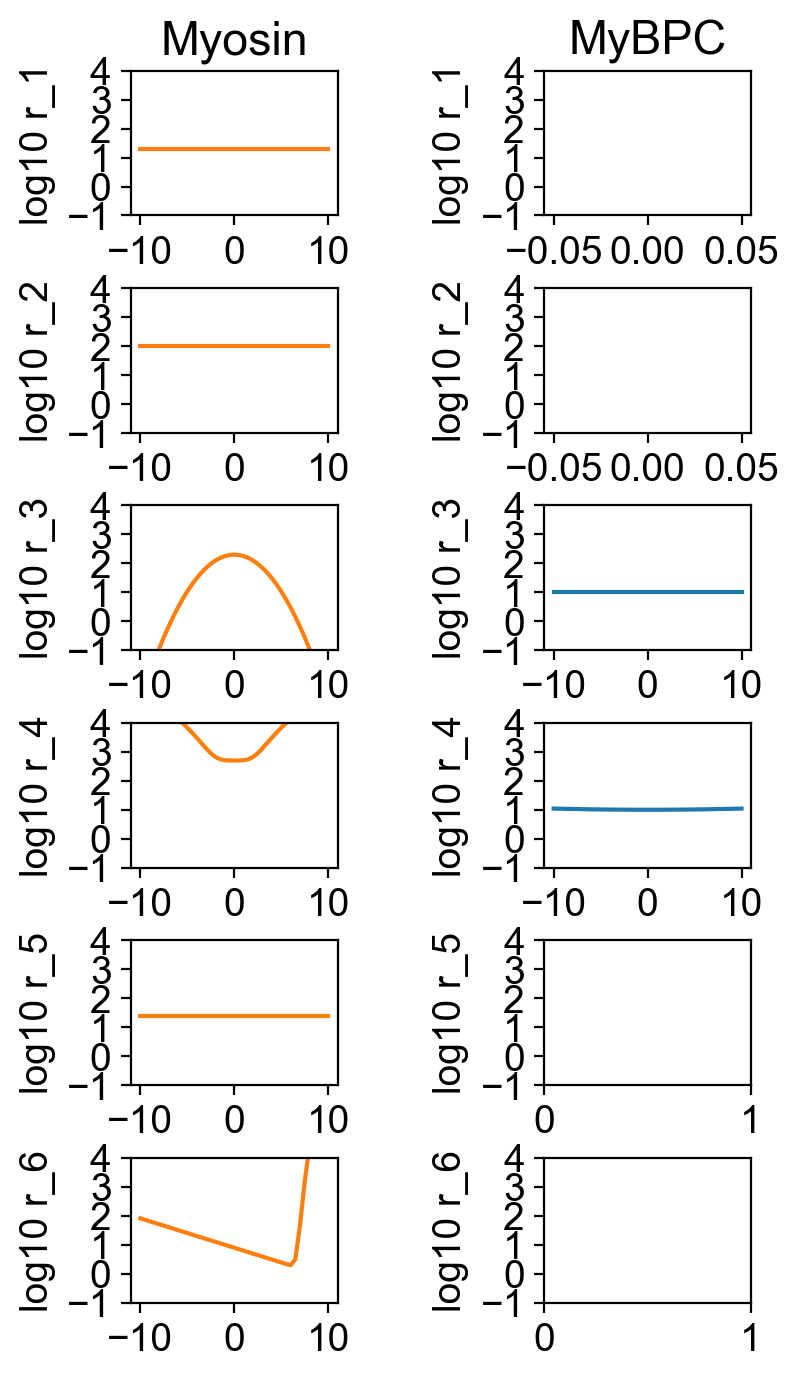
The myosin and myosin binding protein-C rates are shown in
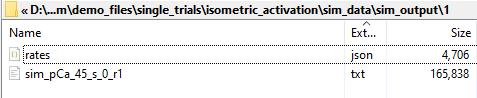
The result files are in <FiberSim_repo>/demo_files/single_trials/isometric_activation/sim_data/sim_output/1
How this worked
FiberPy ran a single simulation based on setup.json.
{
  "FiberSim_setup":
  {
    "FiberCpp_exe": {
      "relative_to": "this_file",
      "exe_file": "../../../../bin/FiberCpp.exe"
    },
    "model": {
      "relative_to": "this_file",
      "options_file": "sim_options.json",
      "model_files": ["model.json"]
    },
    "characterization": [
        {
            "type": "pCa_length_control",
            "relative_to": "this_file",
            "sim_folder": "../sim_data",
            "m_n": 9,
            "pCa_values": [4.5],
            "sim_duration_s": 1,
            "time_step_s": 0.001,
            "output_image_formats": [ "png" ],
            "figures_only": "False",
            "trace_figures_on": "False"
        }
    ]
  }
}
The first section labeled "FiberCpp_exe" showed FiberPy where to find the main FiberCpp software. This demo can use relative paths because the demos are part of the repository.
The next section, titled "model" shows where to find the base model and the simulation options.
The last section says:
- run a
pCa_length_controlsimulation - write the data to the relative path
../sim_data - run a simulation with 9 thick filaments (this number has to be an integer squared [16, 25, etc.] with bigger numbers taking longer but producing smoother traces)
- the pCa is 4.5
- the simulation is 1 s long with 1 ms resolution